Sarahmarket - Multipurpose Responsive Shopify Theme
- Created: May 10 , 2017
- Latest Update: May 10 , 2017
- By: DesignShopify.com
Thank you for purchasing this theme. If you have any question not included in this help file, please feel free to post it on our support system HERE. Thanks so much! This documentation was only made with the Documenter
Ask for support? Please open ticket at here
NOTE: This theme is designed for Shopify website.
This Document use for Sarahmarket template/theme.
Theme Installation
Installing Sarahmarket is easy and quick.
If you had the Shopify site and now want to change with this theme for your site, follow the instruction below:
Note: Extract/Unzip the package that downloaded from themeforest.net first, choose and upload file the sarahmarket_yyy_rxx.zip (yyy is style template, rxx is package release number)to upload to your Shopify site
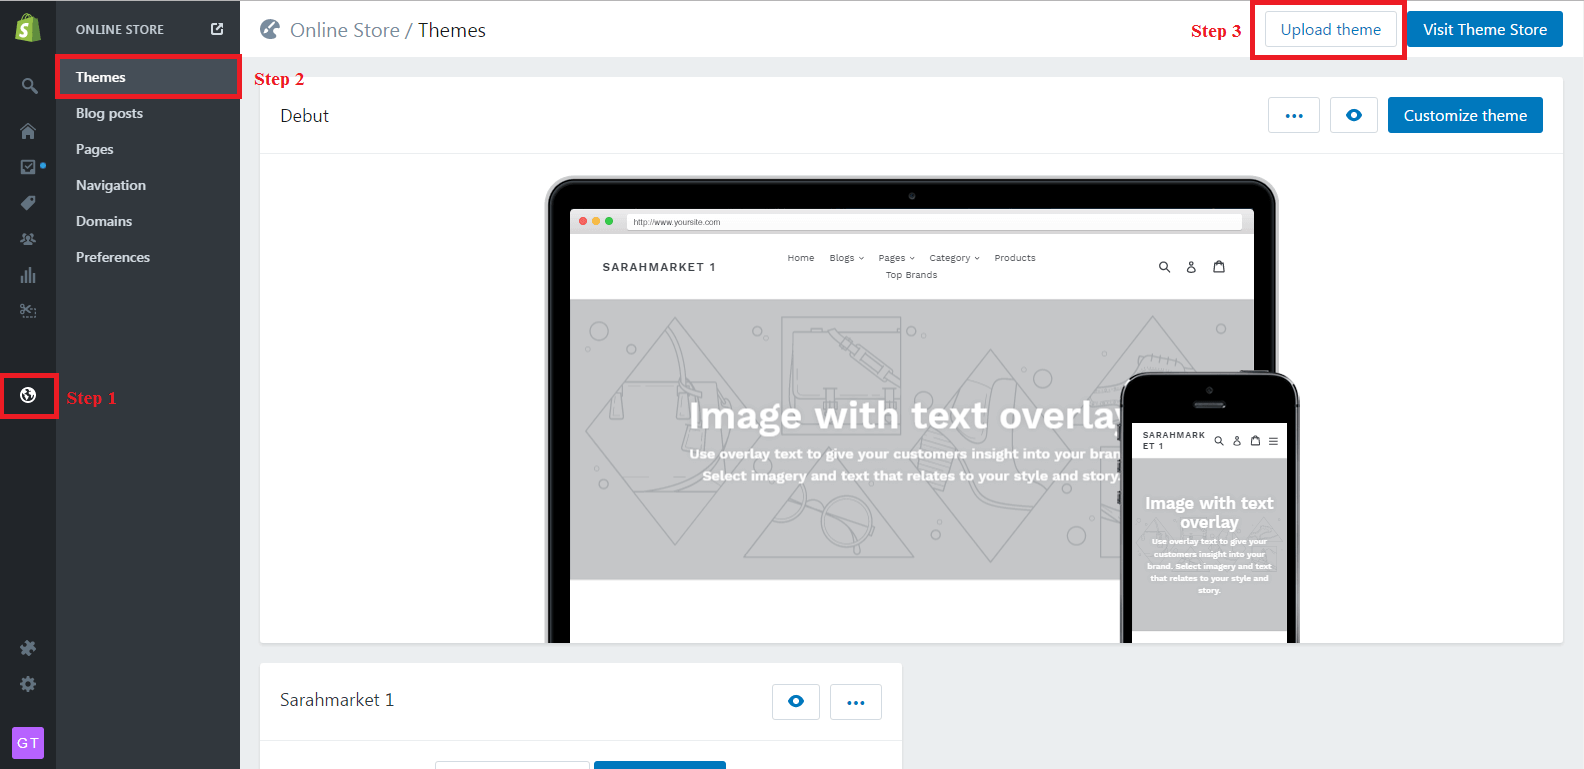
1. In your back office go to: Online Store > Themes:
-
Click: Upload a theme
-
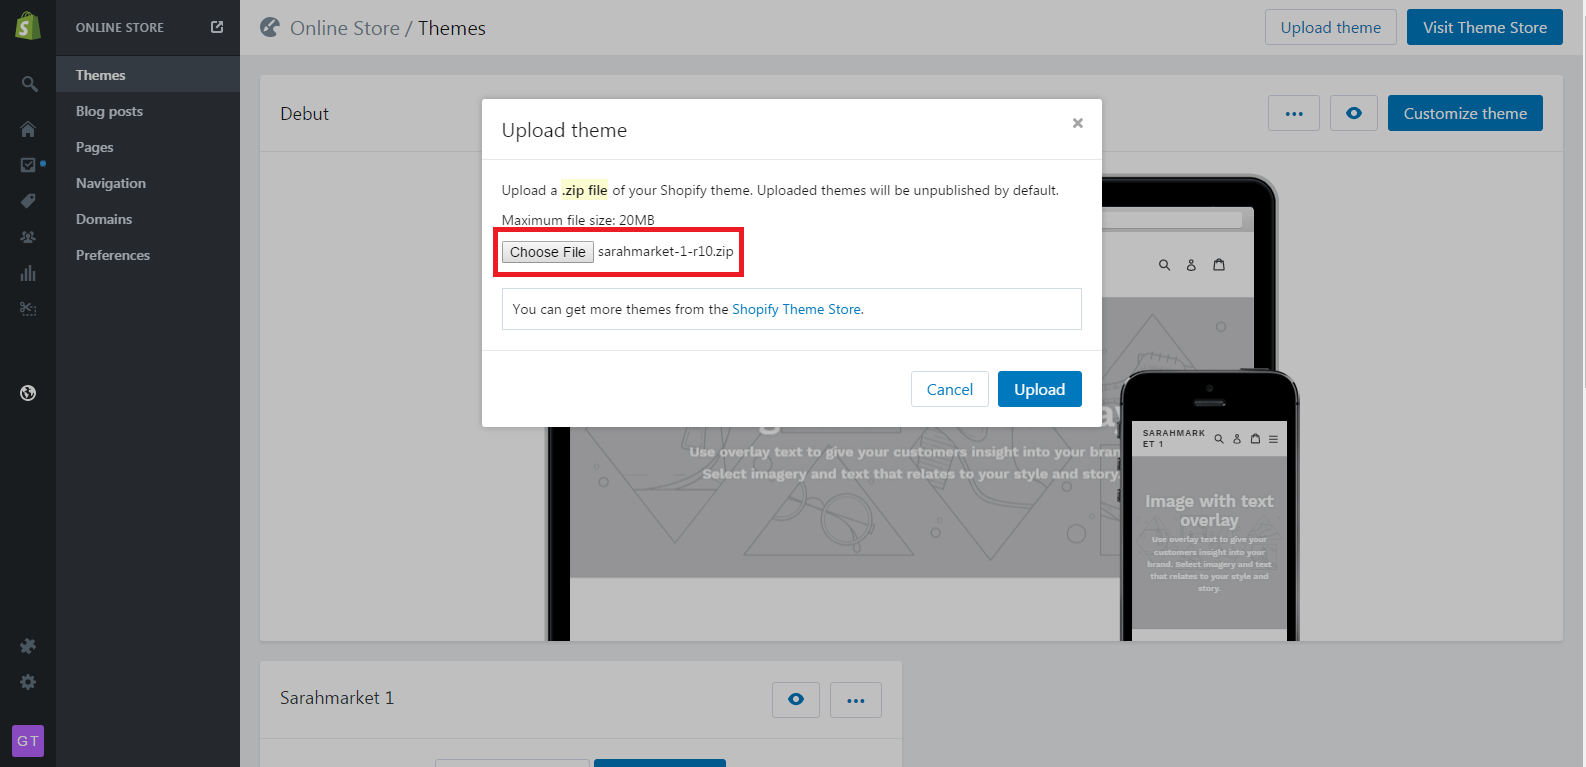
Click on Choose File button and select sarahmarket_yyy_rxx.zip file, then click: Upload
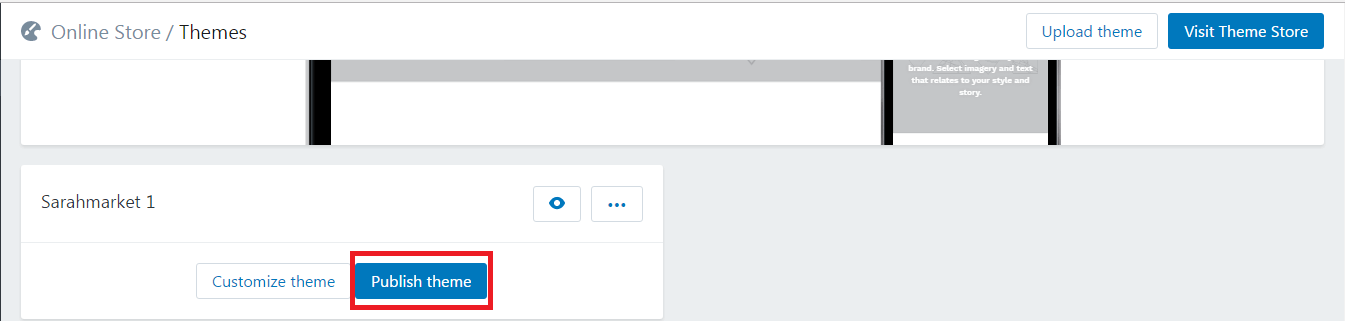
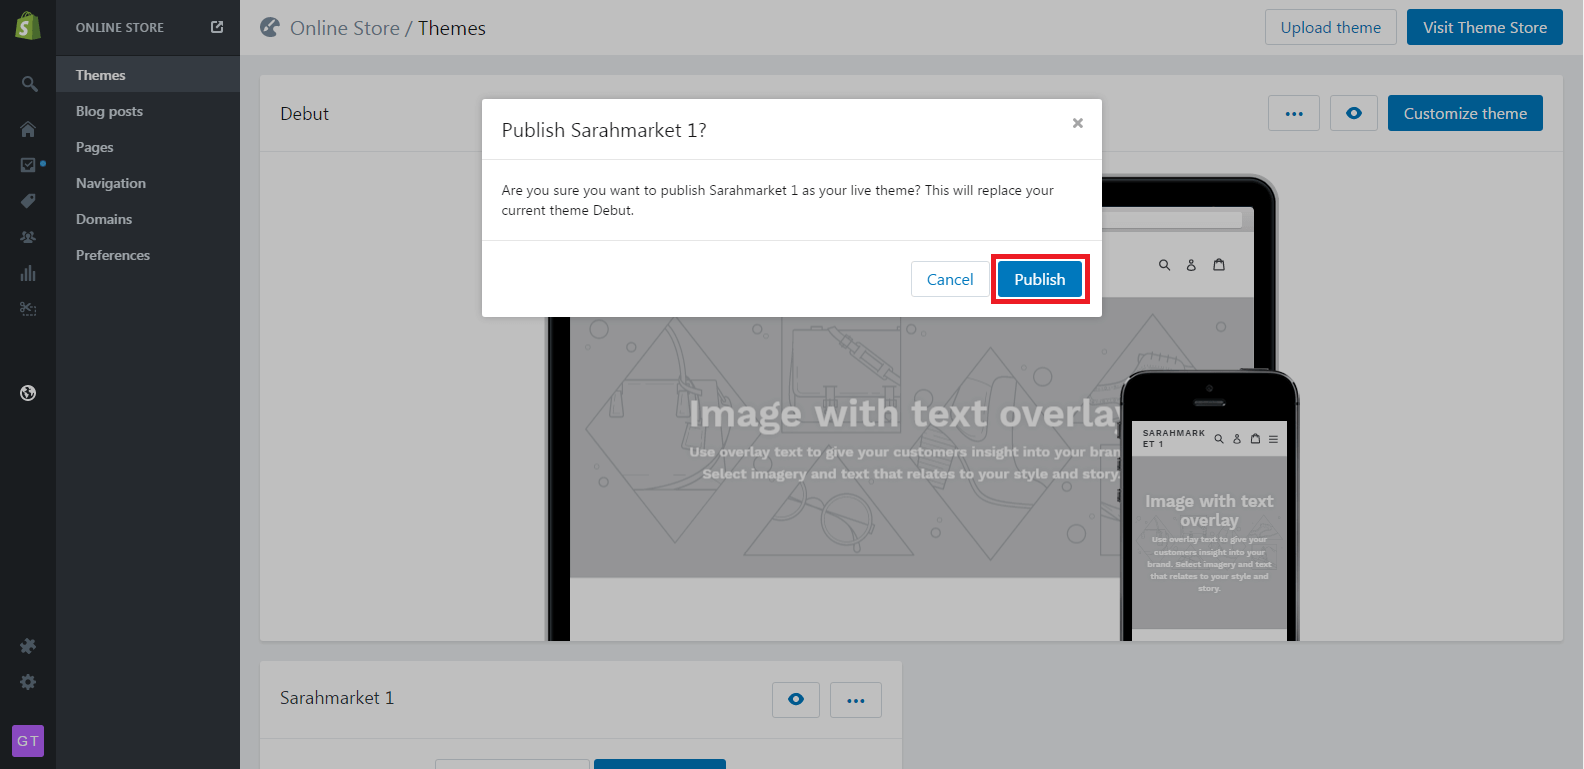
2. In your Backoffice Dashboard go to: Online Store > Themes > Scroll to section Sarahmarket:
-
Click: Publish theme
-
Click: Publish
Customize Theme
To customize appearance and settings of this theme:
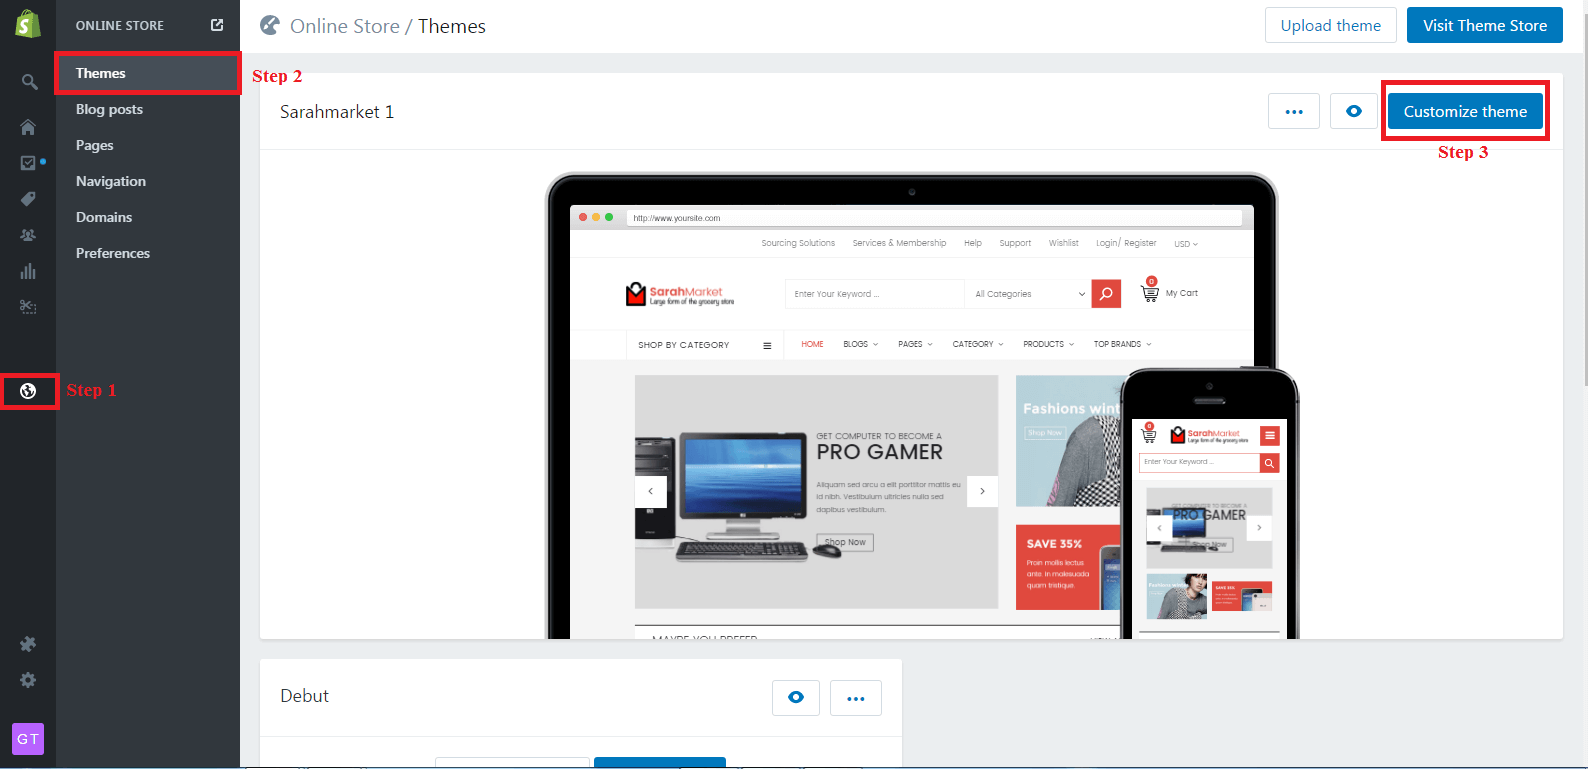
In your back office go to: Online Store > Themes:
-
Click on: Customize theme
In your Customize Theme:
-
Overview:

Color
-
Go to: Customize Theme > General settings > Colors General , select color field that you want change
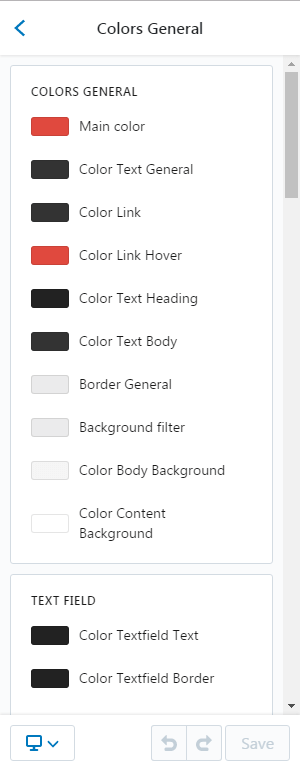
List Color fields
- Colors General
- Text field
- Product
- Price Product detail
- Navigation
- Quickview
- Overlays
- Cart
- Pagination
-
Edit and Save Change
-
Go to: Customize Theme > General settings > Colors Header , select color field that you want change
-
Go to: Customize Theme > General settings > Colors Footer , select color field that you want change
-
Go to: Customize Theme > General settings > Colors Button , select color field that you want change
Typography
-
Go to: Customize Theme > General settings > Typography , select options that you want change
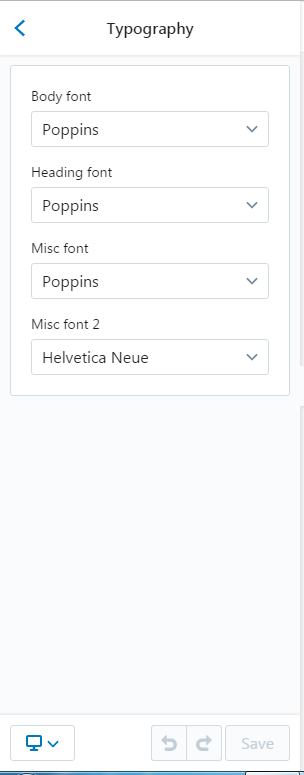
List options
- Body font
- Heading font
- Misc font
- Misc font 2
-
Edit and Save Change
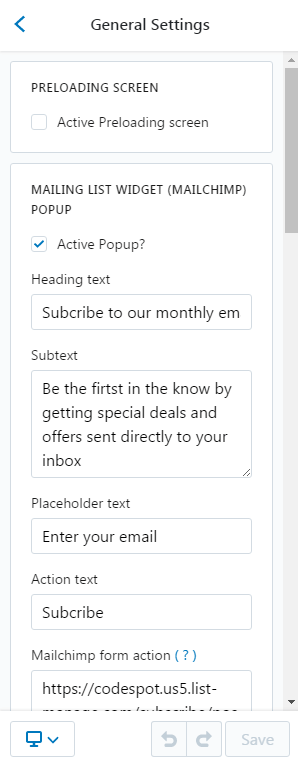
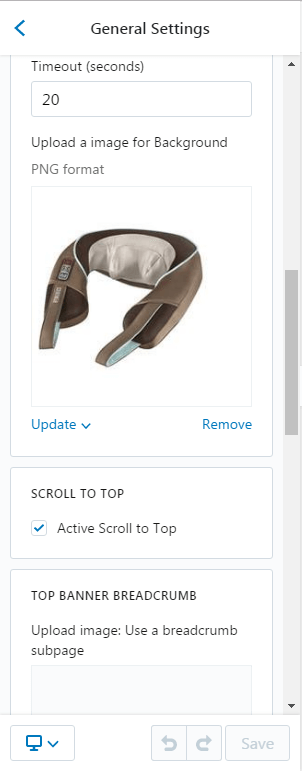
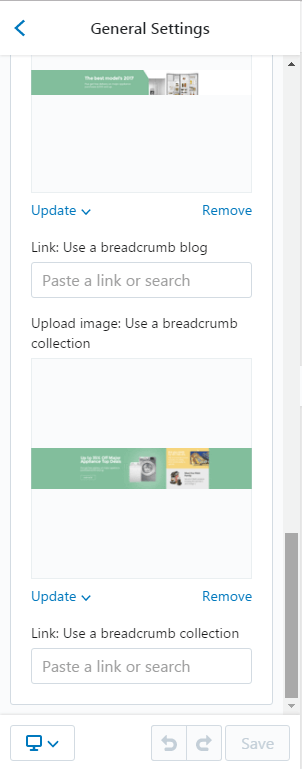
General Settings: Preloading screen, Mailing List Widget (Mailchimp) Popup, Scroll to Top, Top Banner Breadcrumb
-
Go to: Customize Theme > General Settings > General Settings , select active/inactive options
-
Edit and Save Change
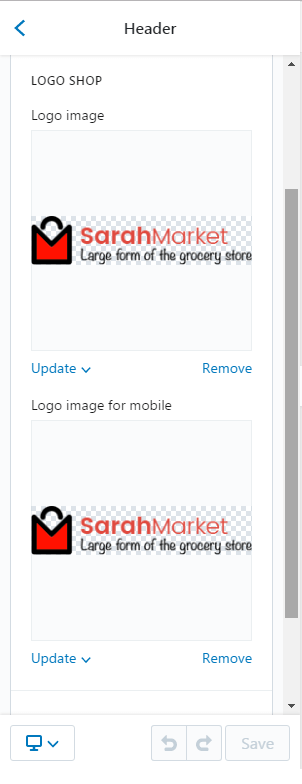
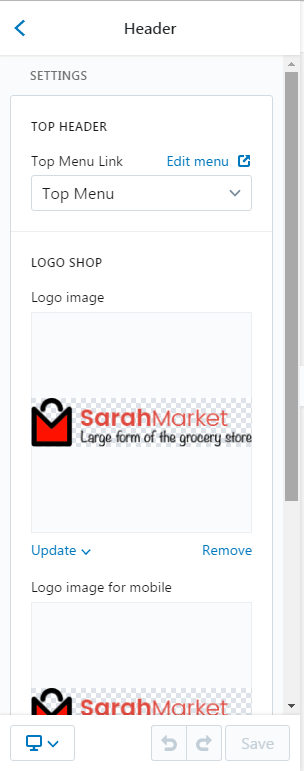
Change Logo and Favicon
Logo
You can create logo by image format or text format.
-
Go to: Customize Theme > Sections > Header > Logo shop
-
Edit and Save Change
Favicon
You can create favicon by image format.
-
Go to: Customize Theme > General Settings > Favicon > Favicon image
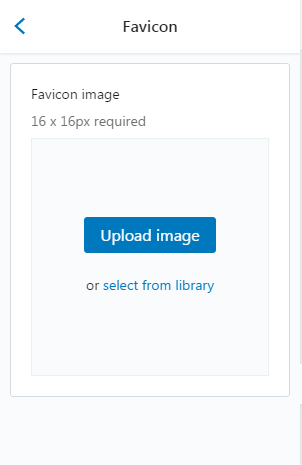
-
Edit and Save Change
Header
There are optoins: Logo shop, Search options
Mega Menu
Menu settings
-
Go to: Customize Theme > General Settings > Mega Menu
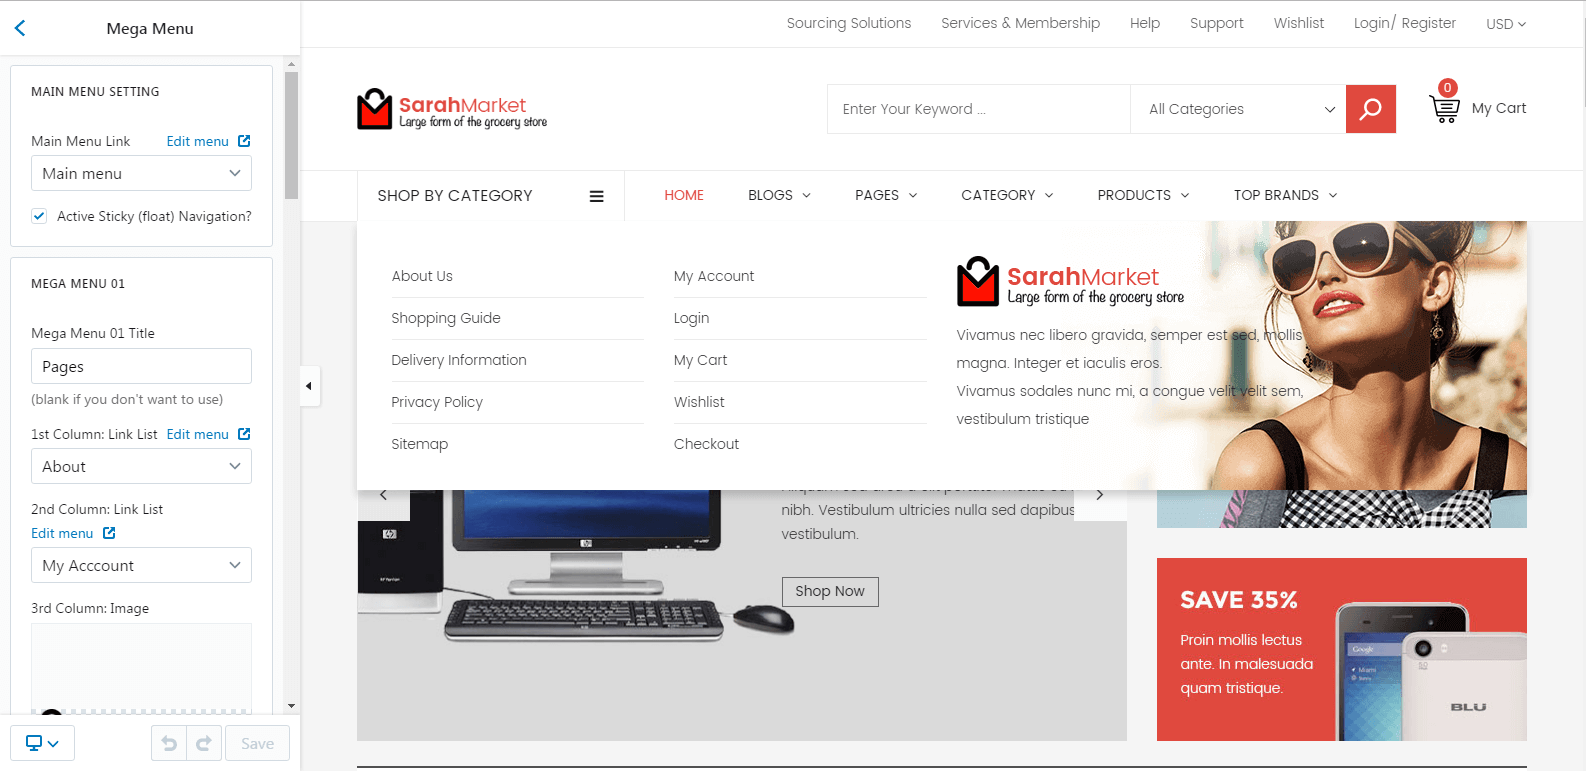
-
Edit and Save Change
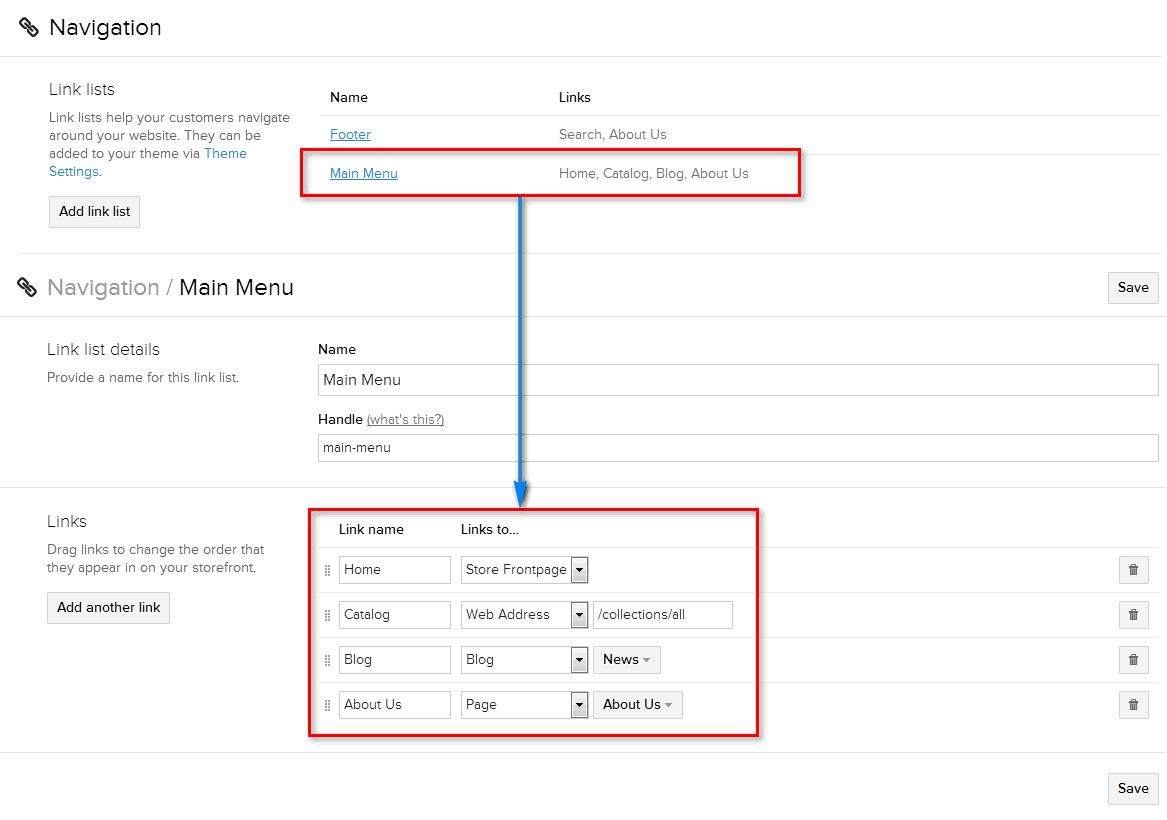
Tips: Creating a Dropdown Menu
-
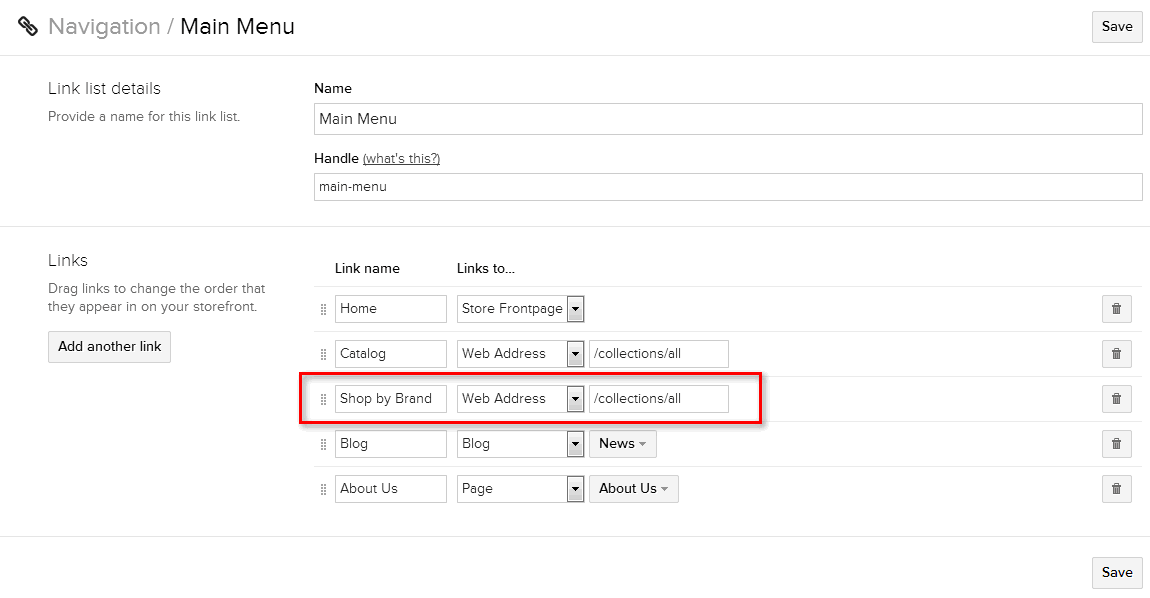
If we want to connect any link to a sub-menu, we'll create a link list with the same name as said (parent) link. For example, a typical Main Menu in Shopify contains the following links:
-
If we want to include a link called Shop by Brand:
-
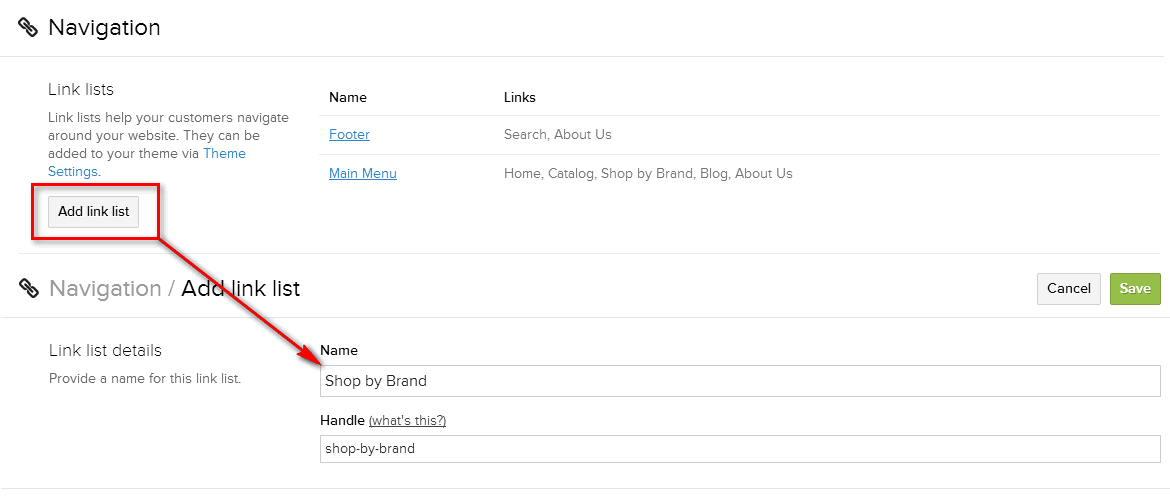
And we want that link to become a drop-down sub-menu to list brands in our shop with links to vendor collections, we will create a list of links called Shop by Brand:
-
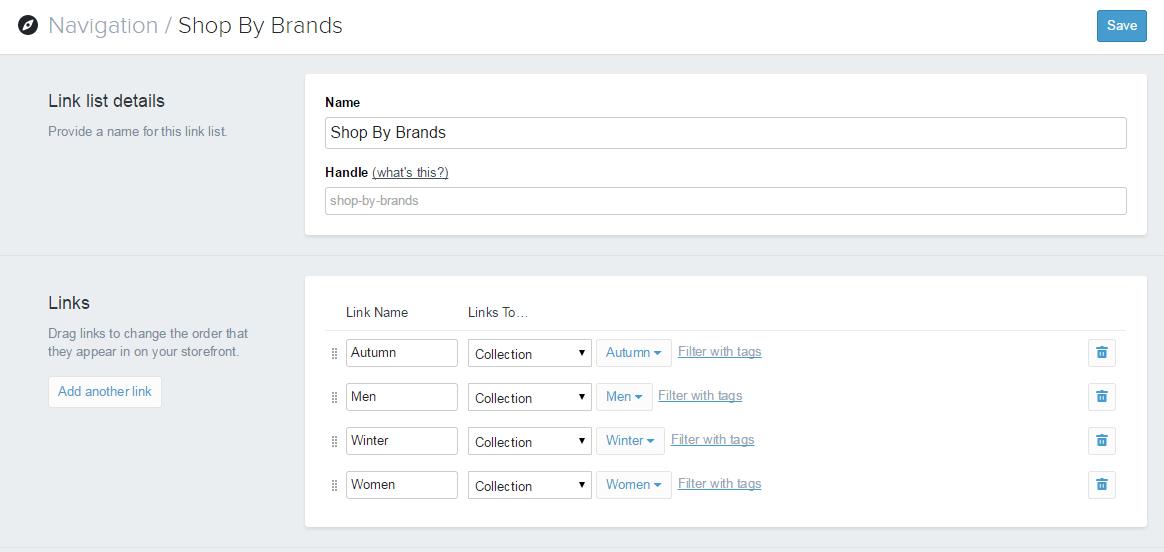
Again, make sure that the name and handle to match uith what you have chosen for the parent link:

-
And we'd fill up the list of links with ones in our vendor collections:
-
To turn any link of our Main Menu into a 'parent' link, create a 'child' menu for it by using the name of your parent link.
Now, it's your turn to apply this theme smartly.
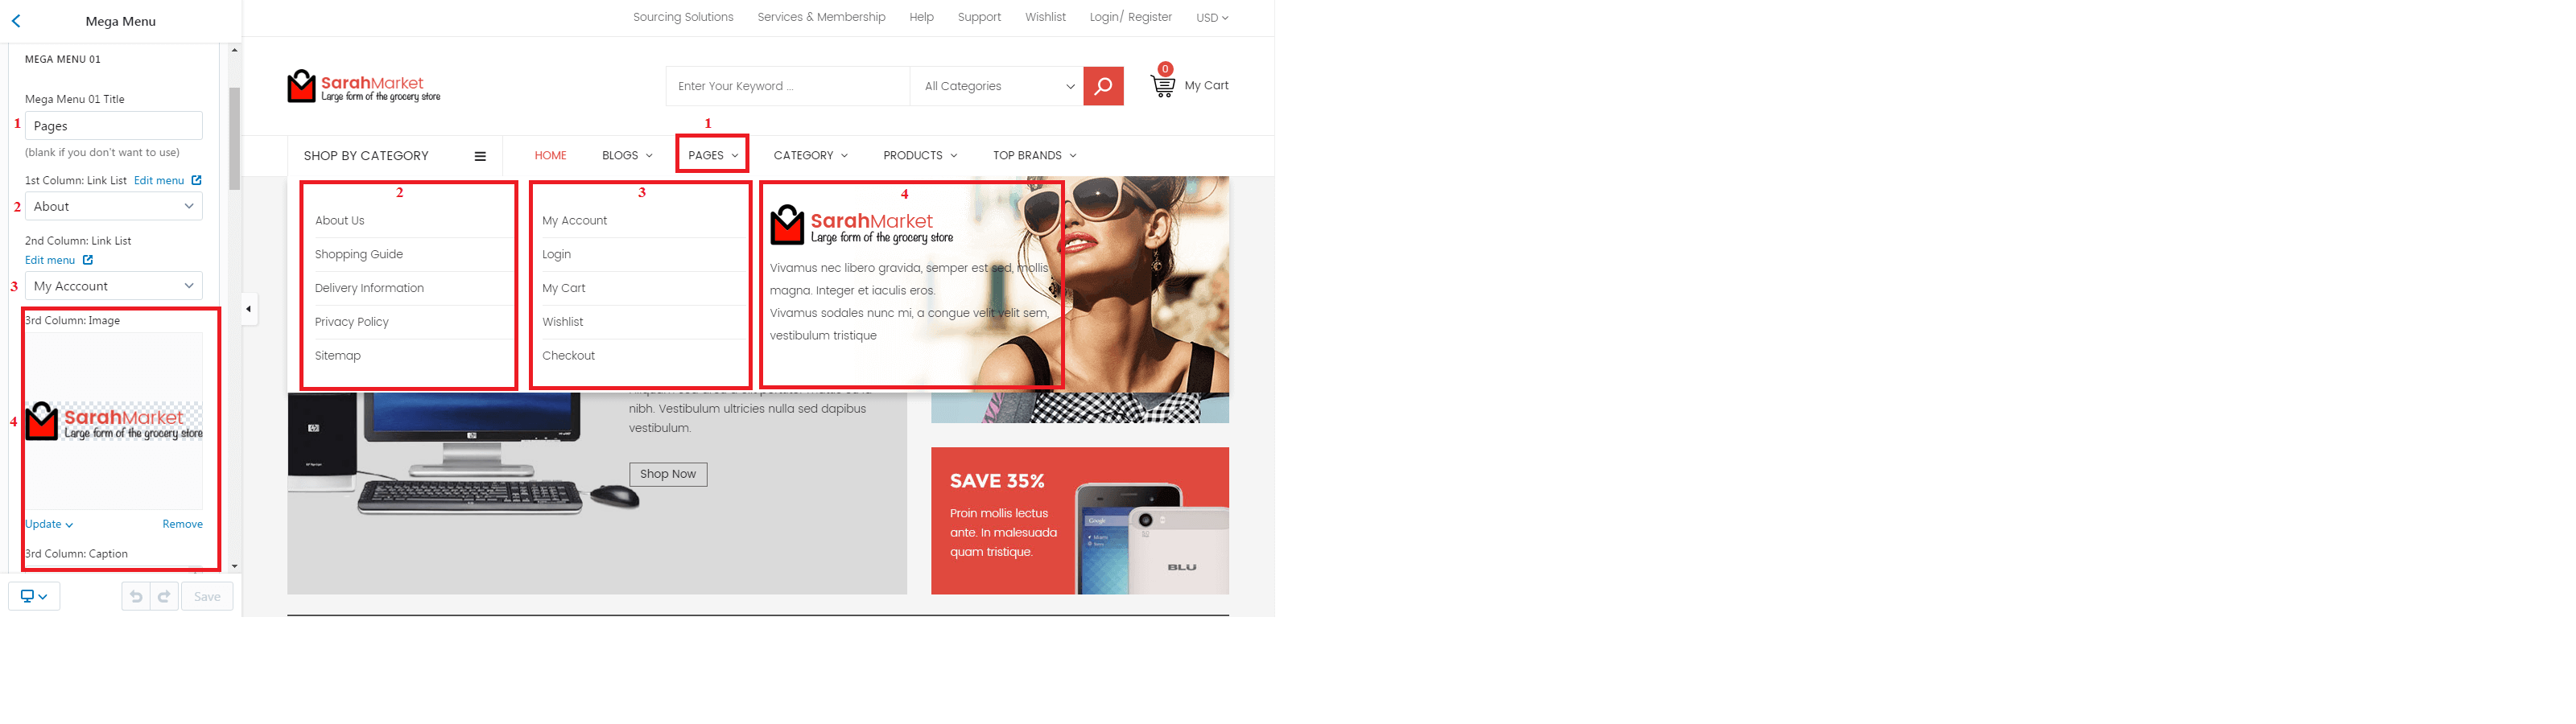
Creating Mega Menu
It's easy to active and make Simple Menu Link list is Mega Menu by Insert the Name of currently Main Link list into Mega Menu x Title
-
Mega Menu Links list style
Side Menu
Menu settings
-
Go to: Customize Theme > General Settings > Side Menu
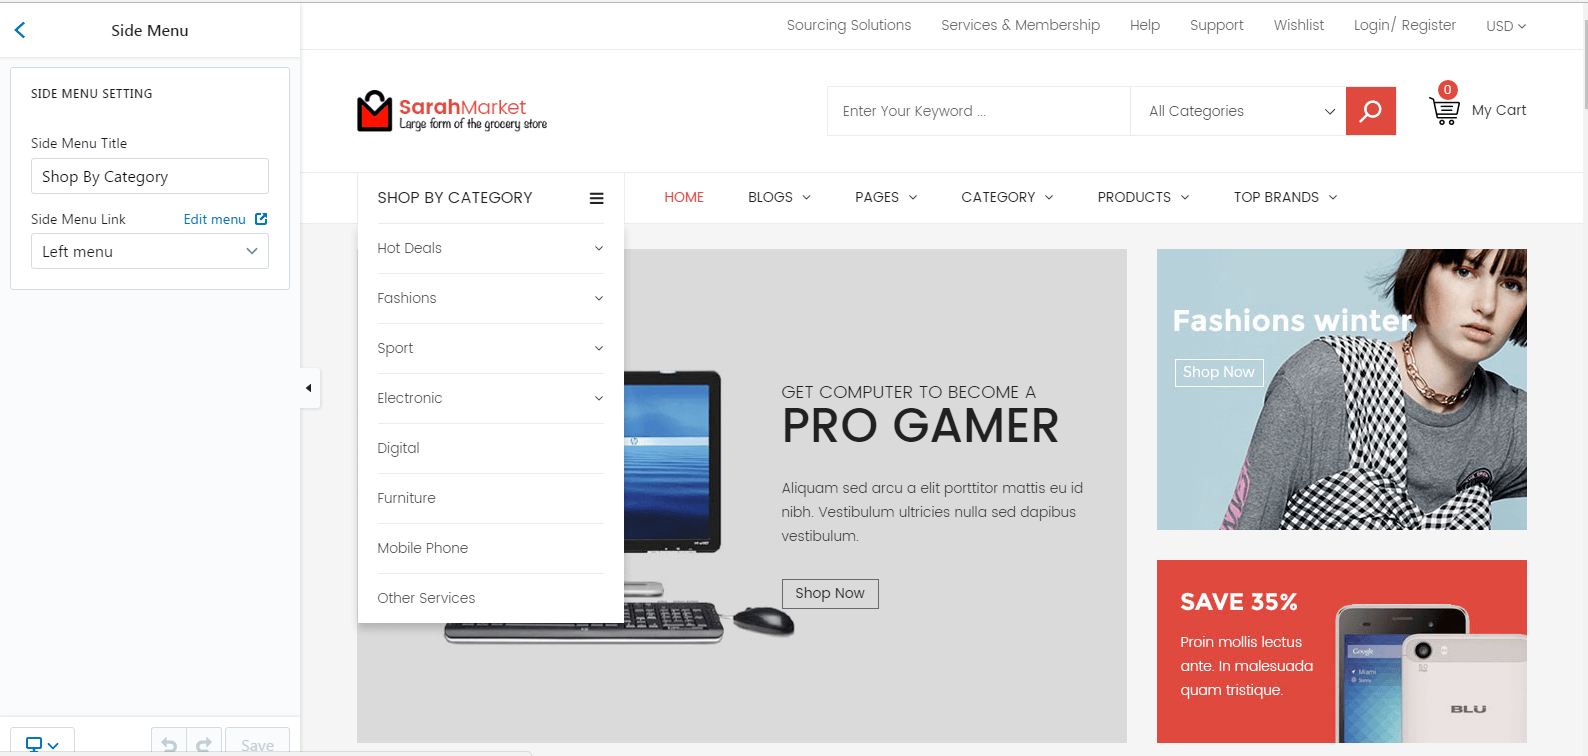
-
Edit and Save Change
Homepage
-
Slideshow
-
Go to: Customize Theme > Sections > Slideshow
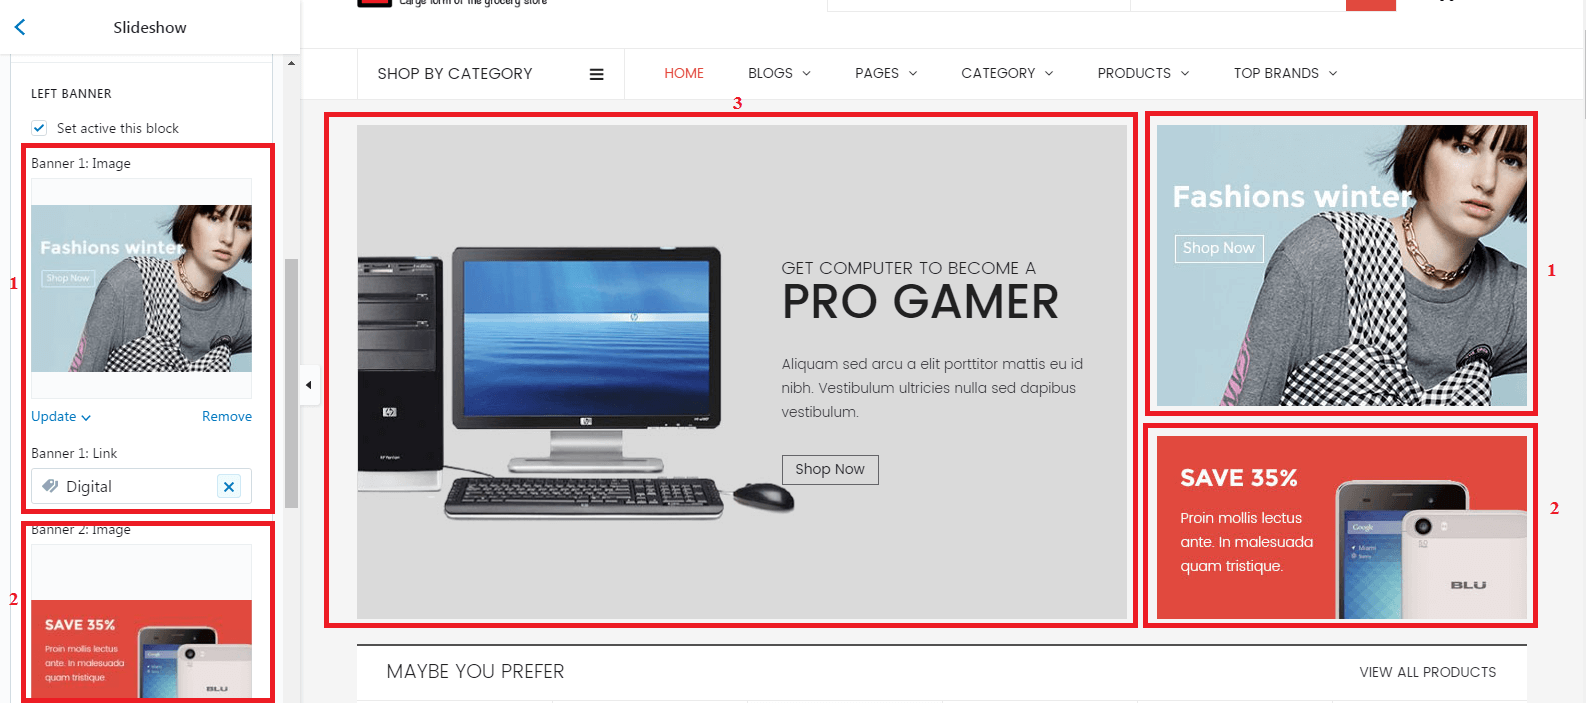
-
-
Maybe You Prefer
-
Go to: Customize Theme > Sections > Maybe You Prefer
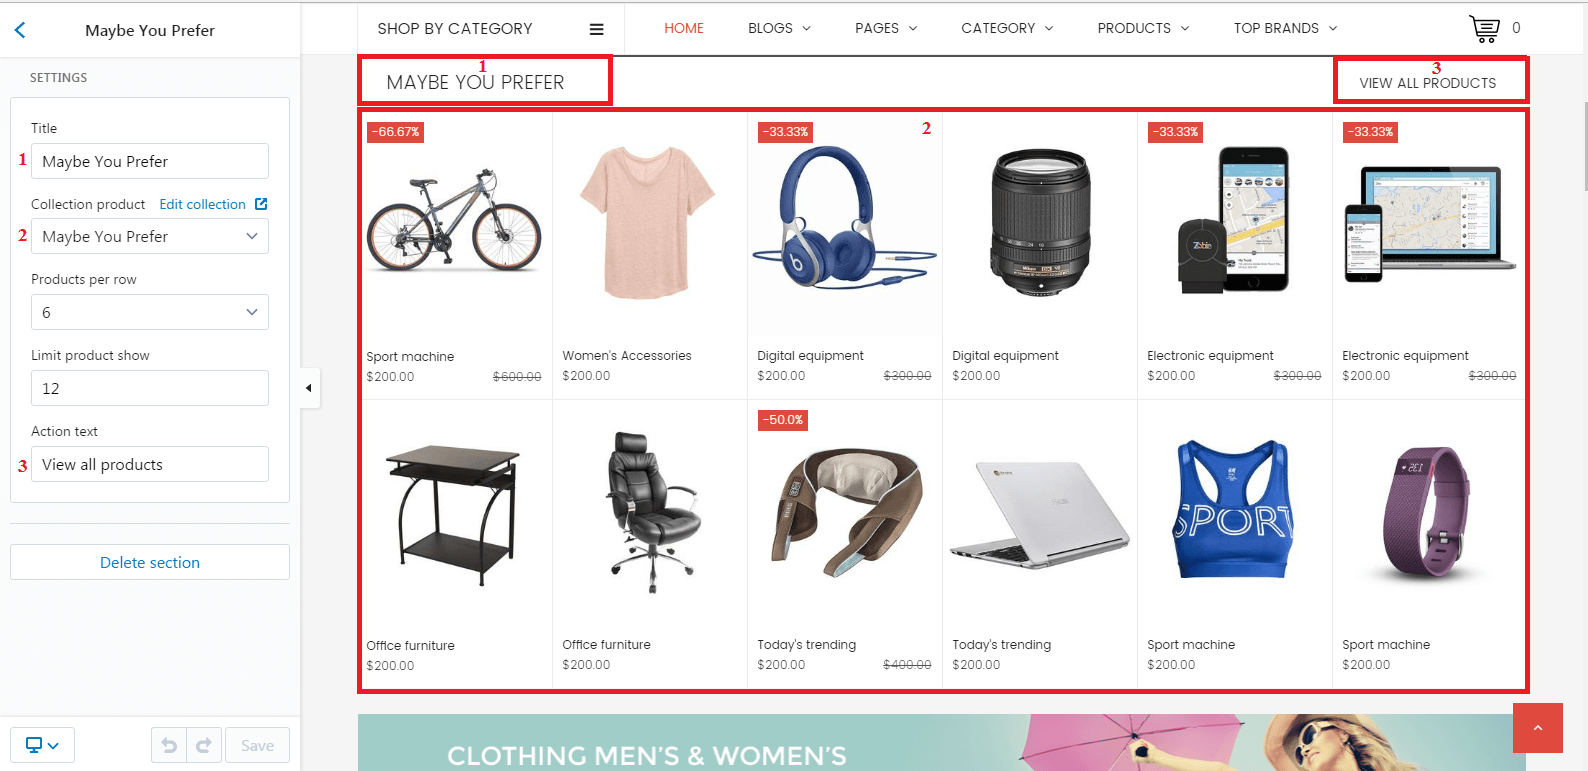
-
-
Banner
-
Go to: Customize Theme > Sections > Banner
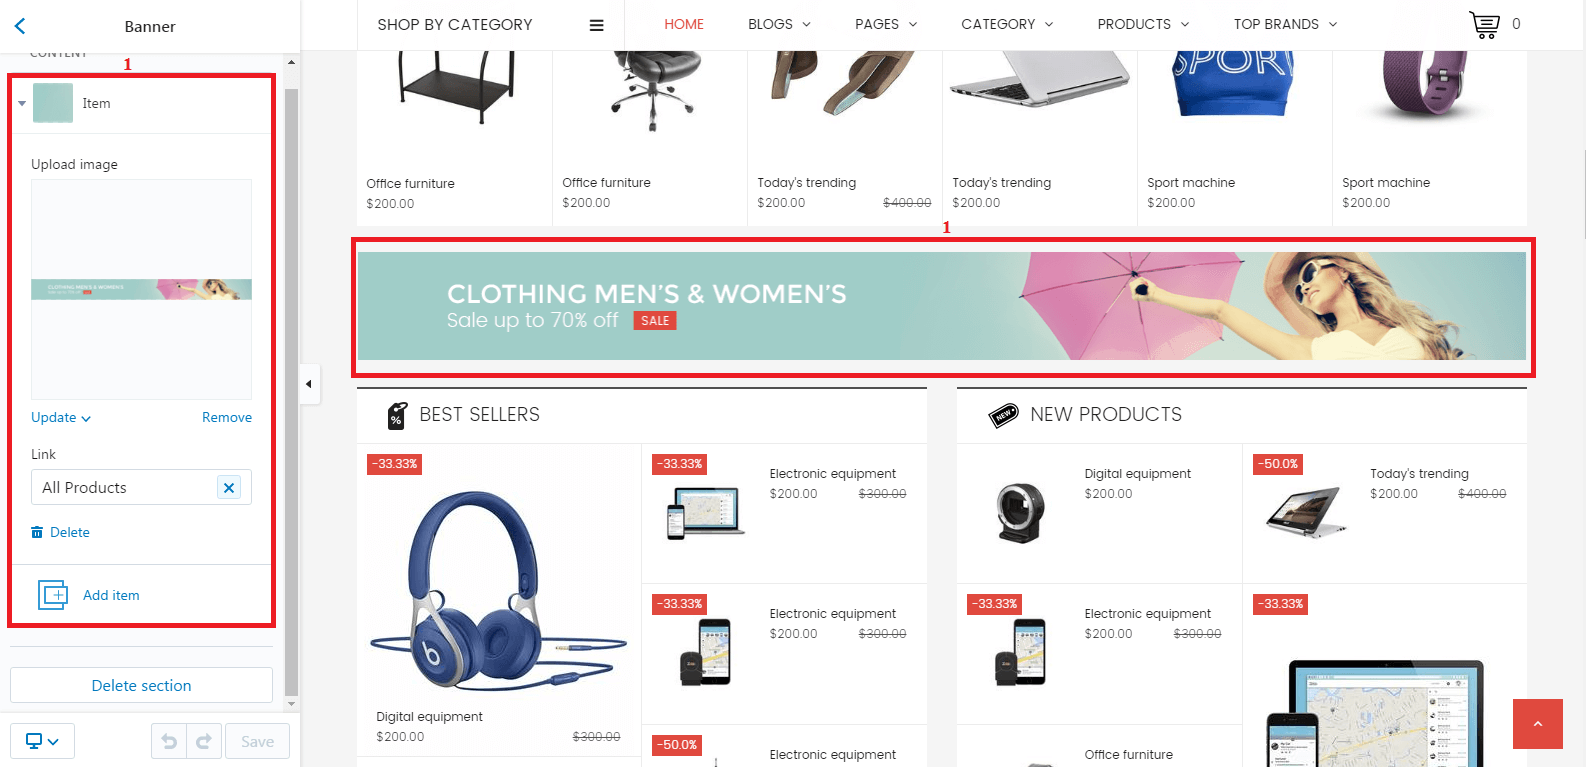
-
-
Column Products
-
Go to: Customize Theme > Sections > Column Products
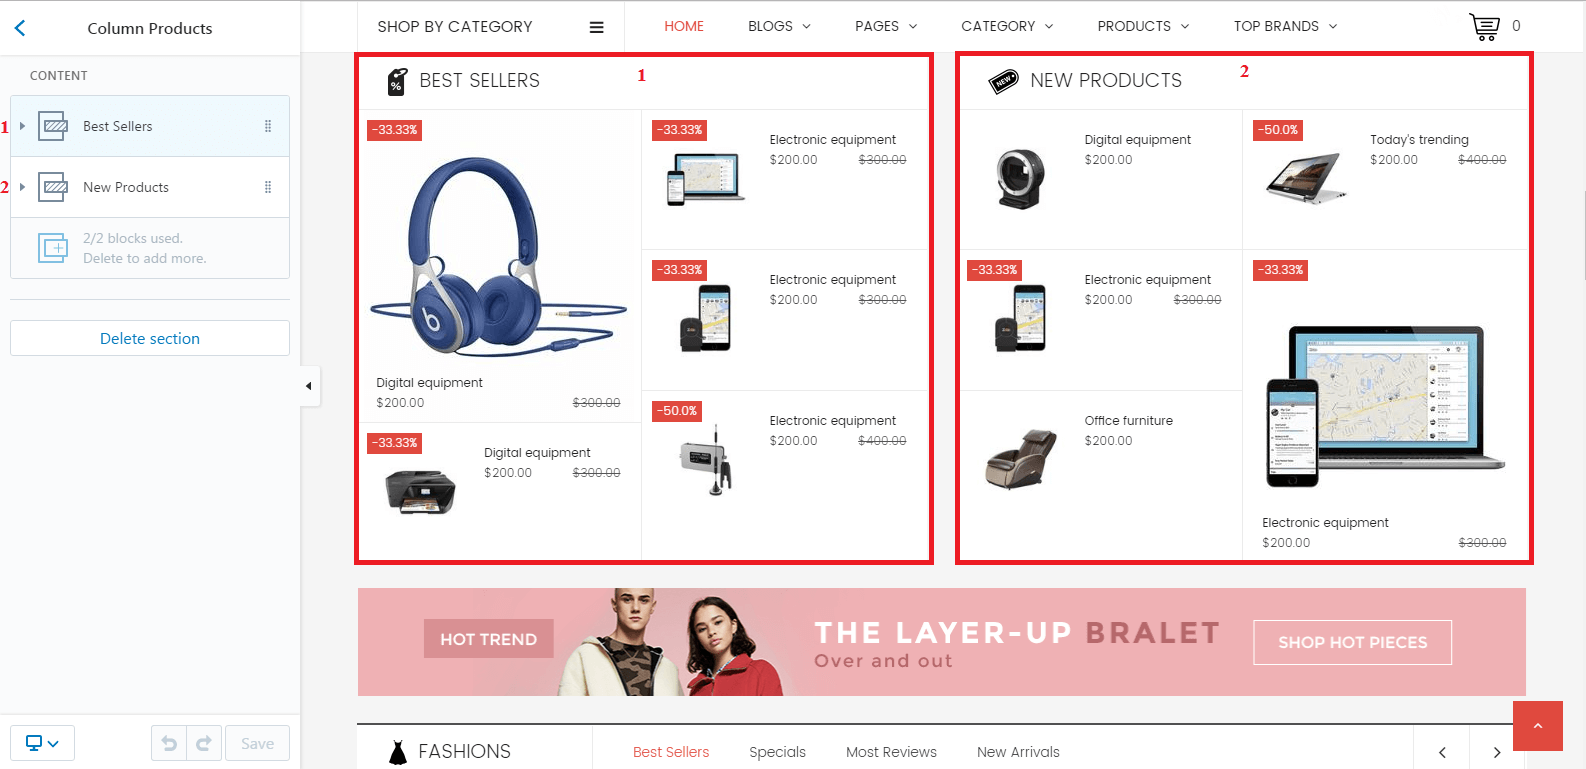
-
-
Tab Products With Style 1
-
Go to: Customize Theme > Sections > Tab Products With Style 1
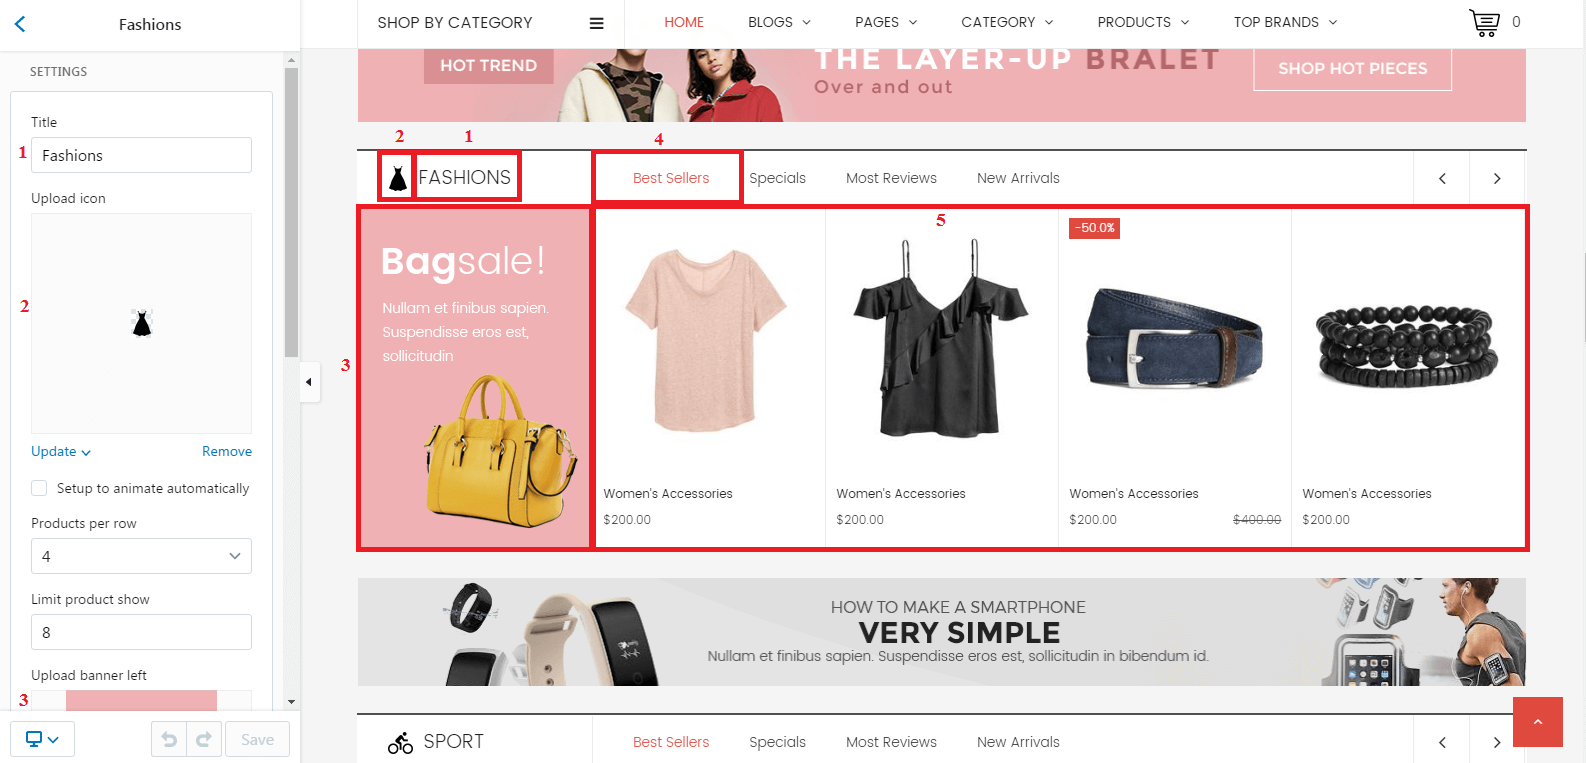
-
-
Tab Products With Style 2
-
Go to: Customize Theme > Sections > Tab Products With Style 2
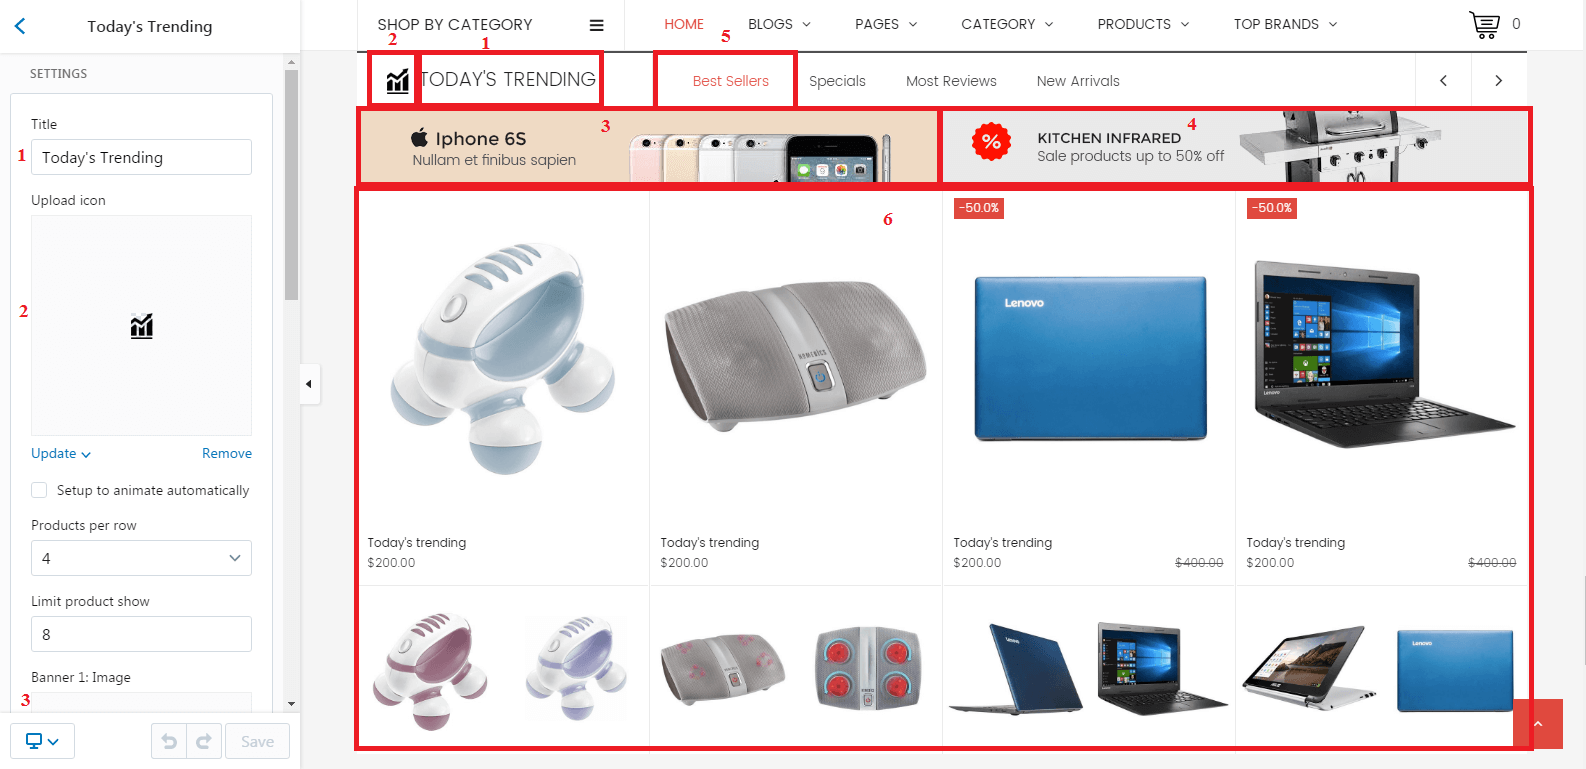
-
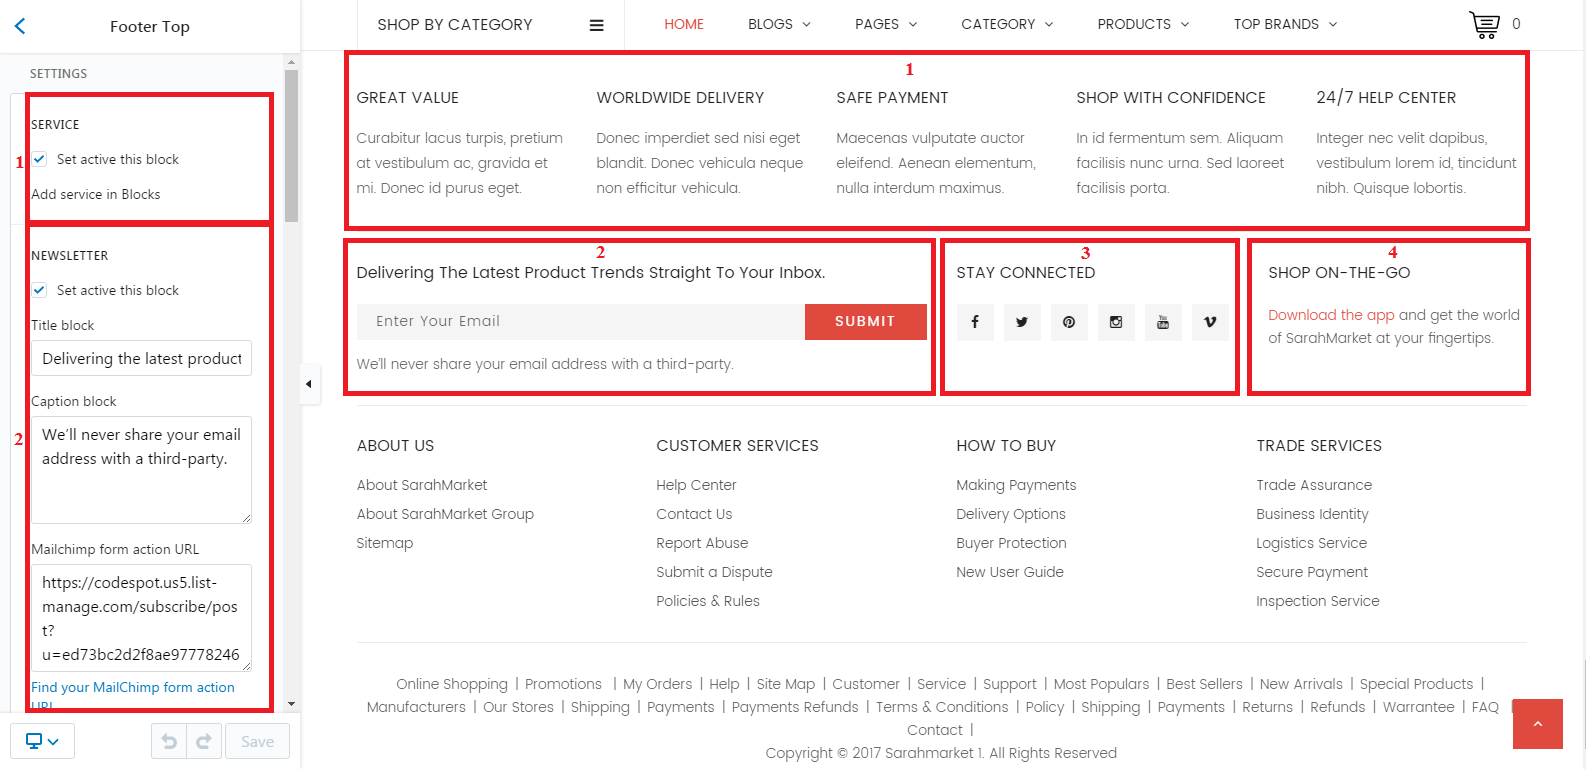
Footer Top
Go to: Customize Theme > Sections > Footer Top > find these areas setting that you want change.
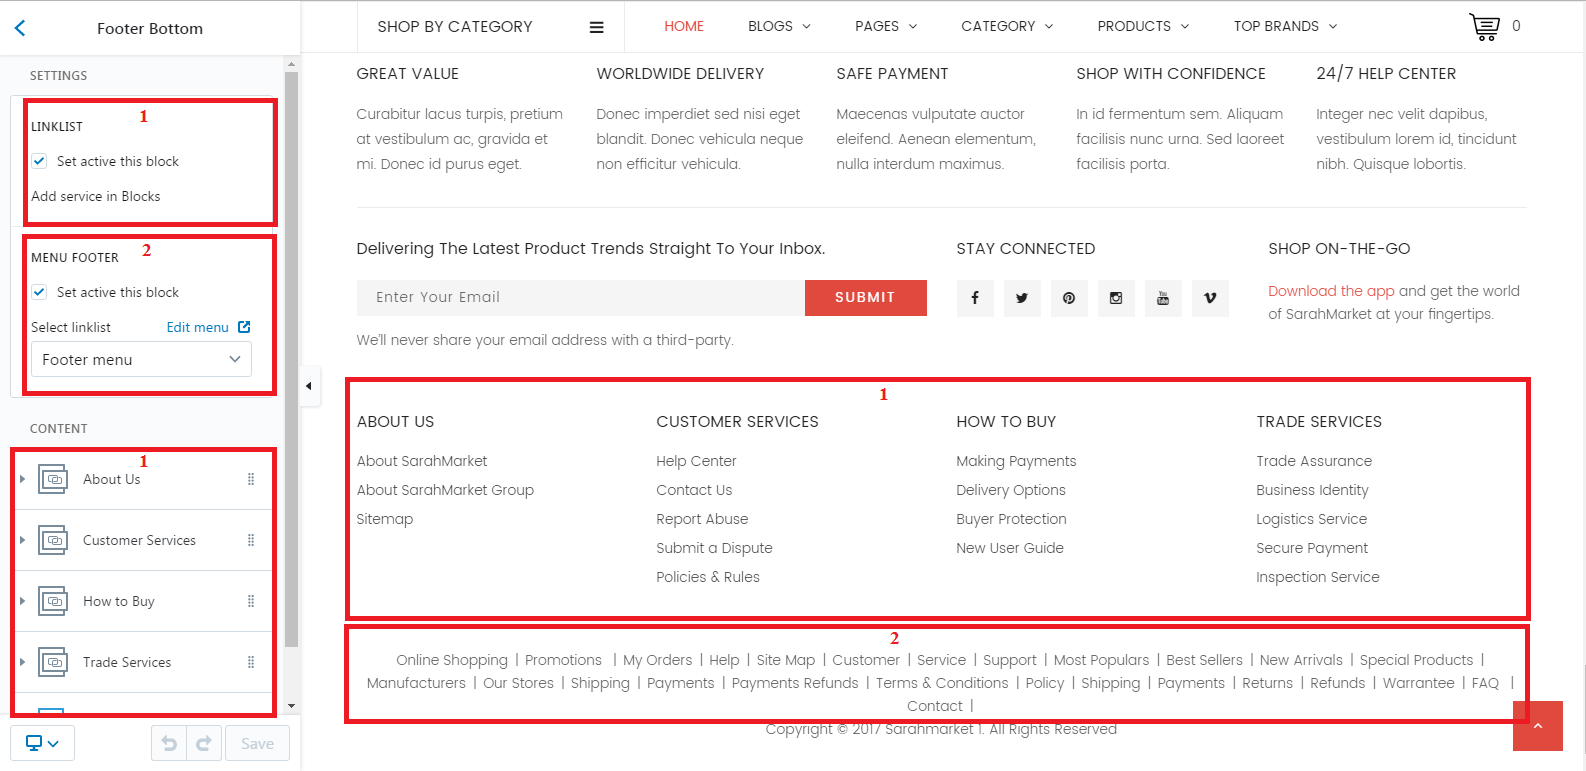
Footer Bottom
Go to: Customize Theme > Sections > Footer Bottom > find these areas setting that you want change.
Collection Page
-
Go to page Collection
-
Go to: Customize Theme > Sections > Collection Page
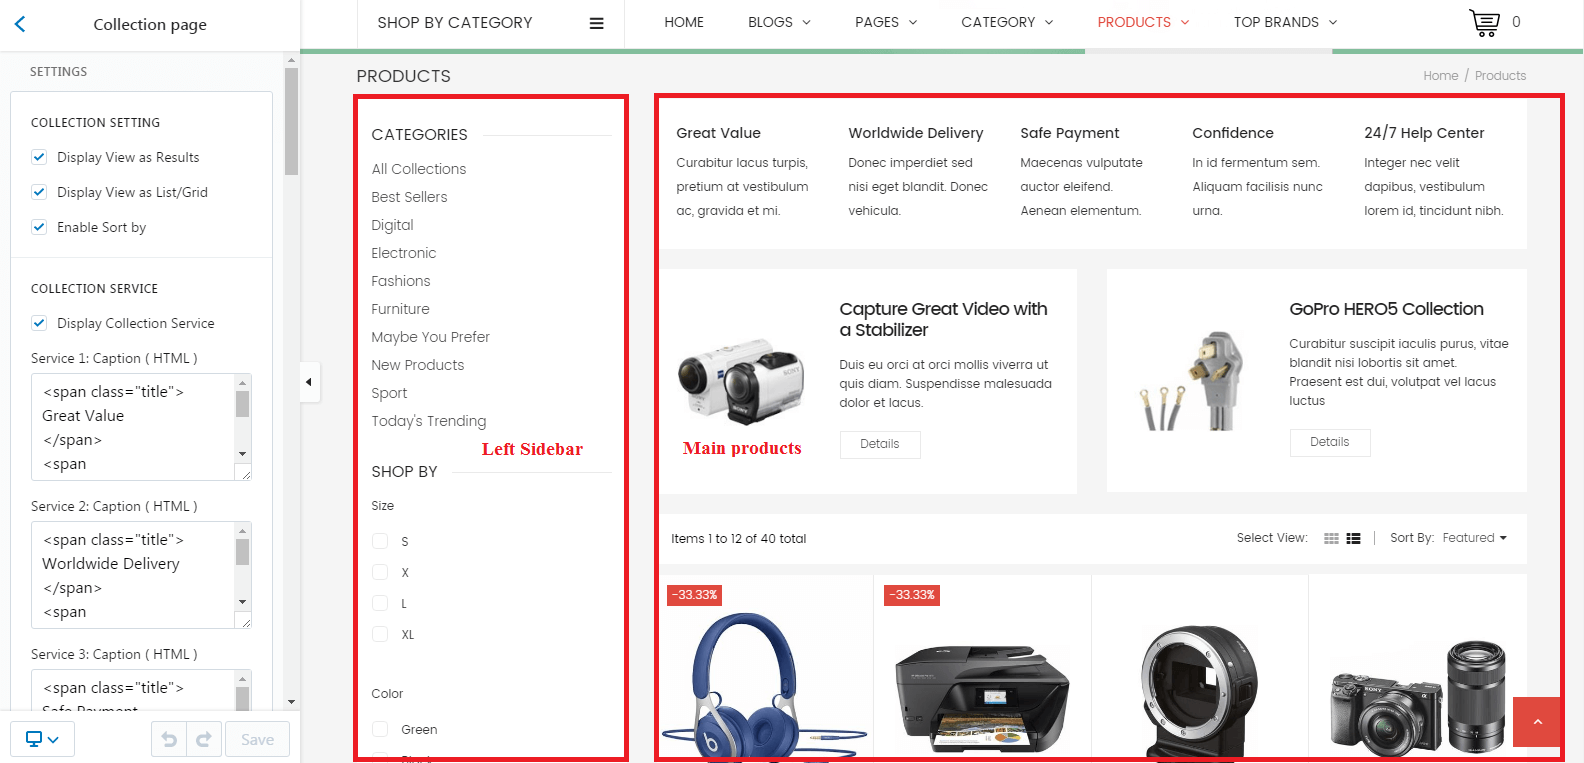
-
Edit and Save Change
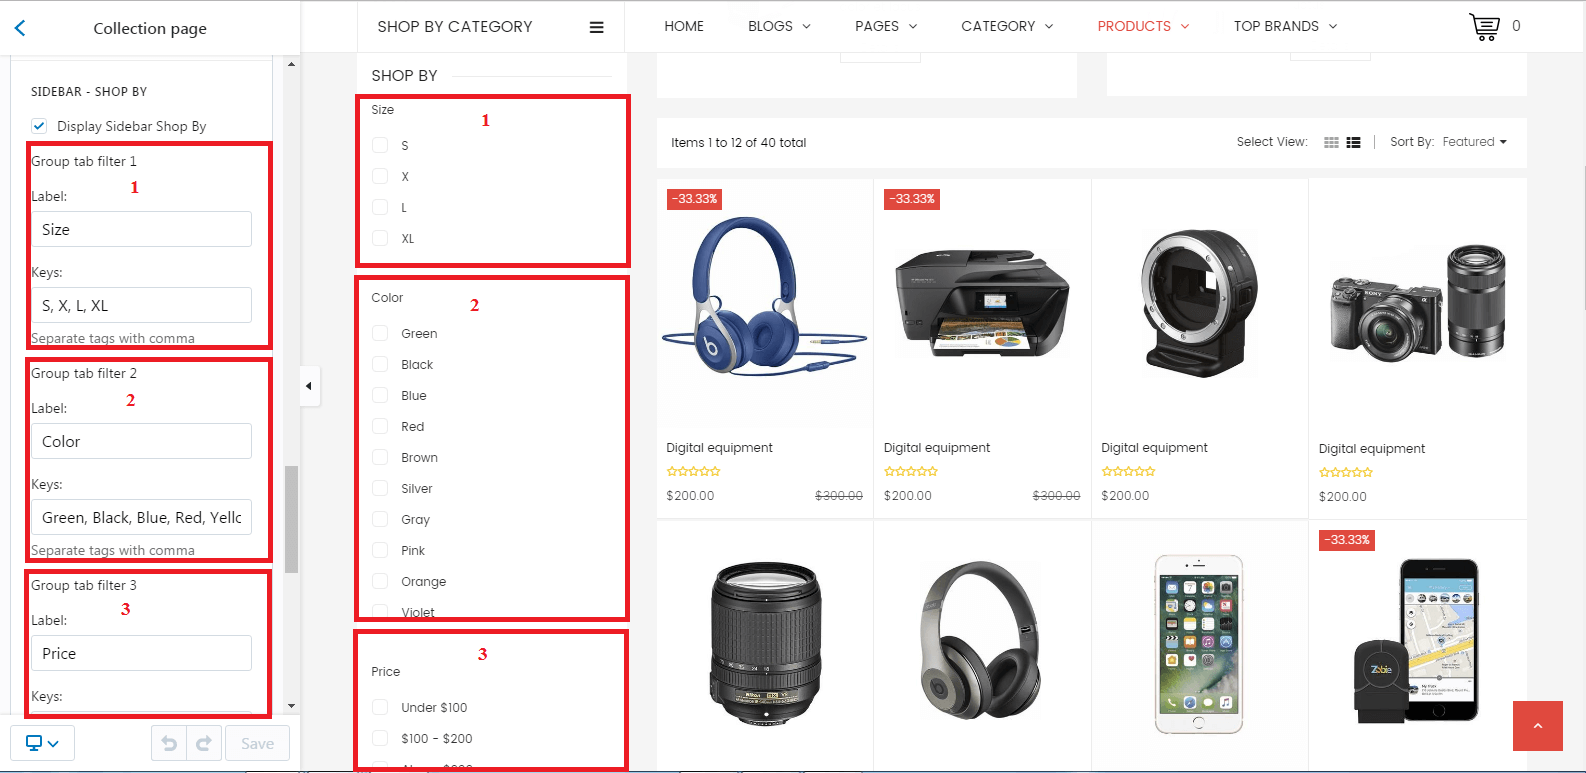
Tags filter
This is Ajax filter by product tags
-
Go to: Customize Theme > Sections > Collection Page > Sidebar - Shop by
Add Label and Keys
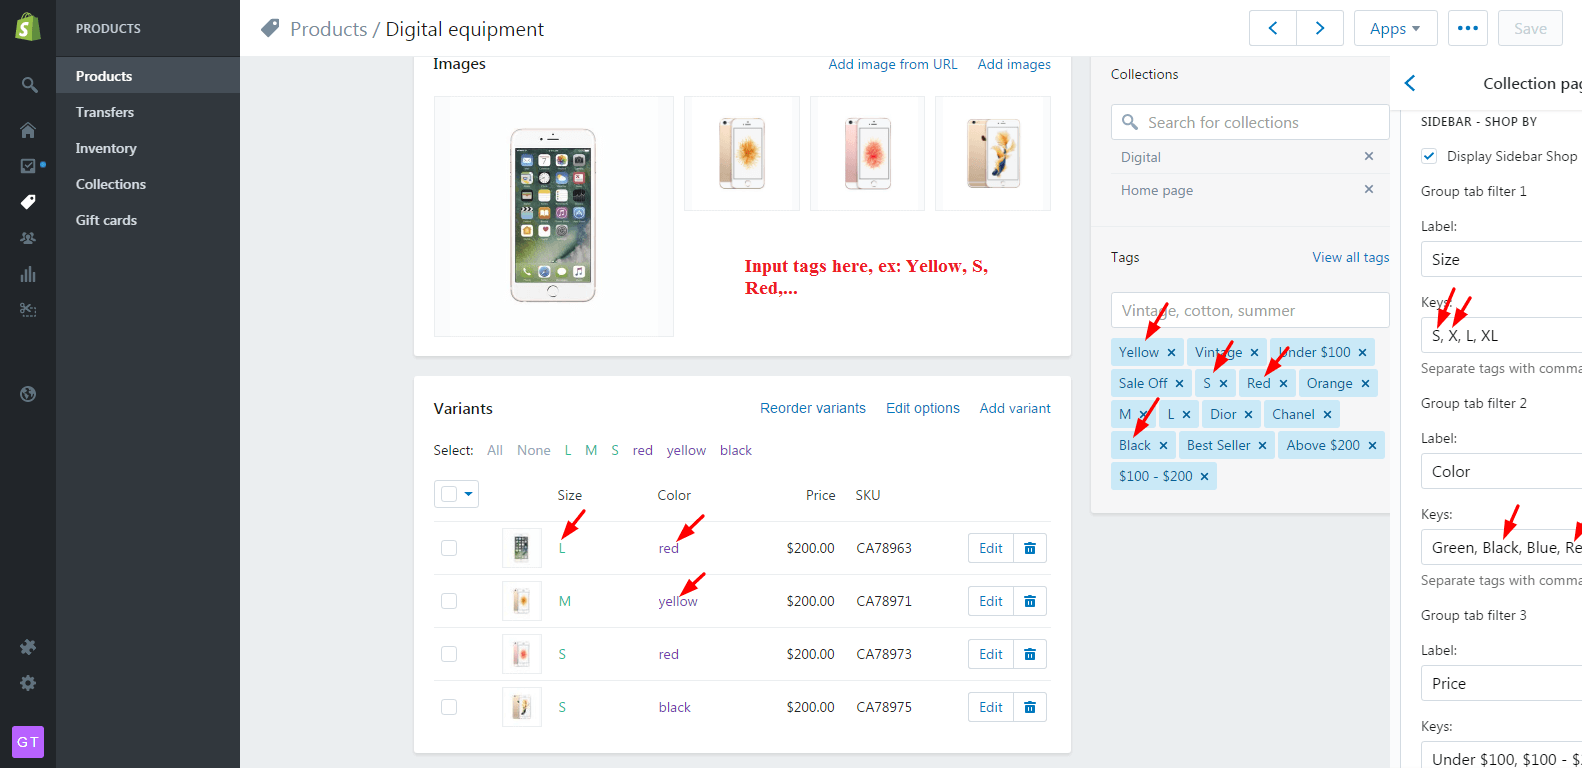
Please note:
- These tags need separate with comma, such as: S,M,L,XL
- You need to put tags that you'd like to show for this product and filled in the filter.
If your product has options: Red, Blue, S size, M size, you need to add below tags: Red, Blue, s, m - If you input in Keys field is: Green, Black, Blue, Red . You also need tag in your product Green, Black, Blue, Red . The tag Red is not the same red !
- For color swatches in color filter: If you want it show with color swaches style, you need set Enable Color Swatch? to Enable in Product Page setting. Default is Enable.
- For color swatches in color filter: You need upload color image into Assets. For example: you have color Red option and tag, you need upload an image named red.png
Product Page
-
Go to page Product
-
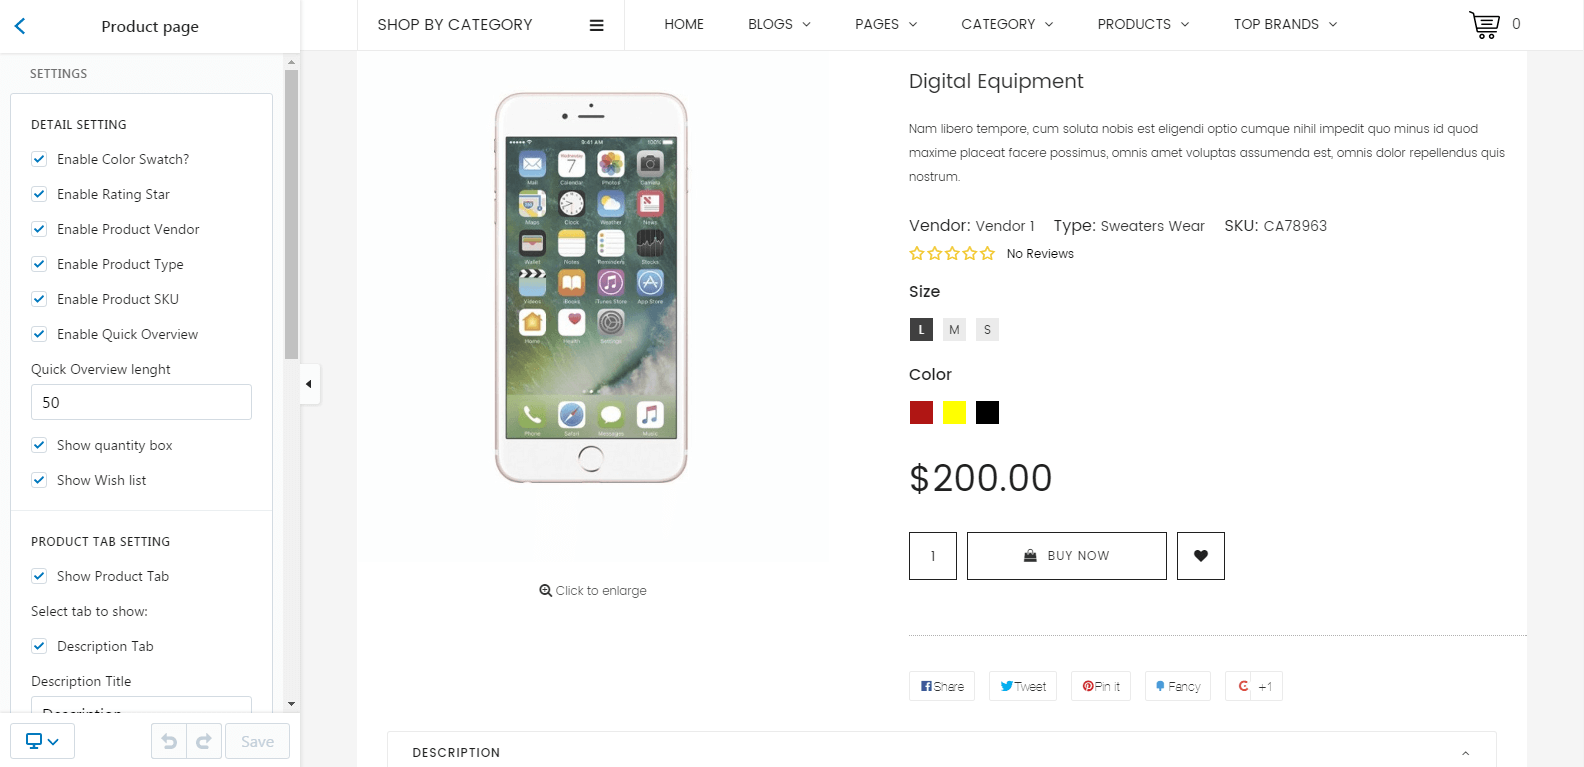
Product Page Content
Go to: Customize Theme > Sections > Product Page > Detail Setting
-
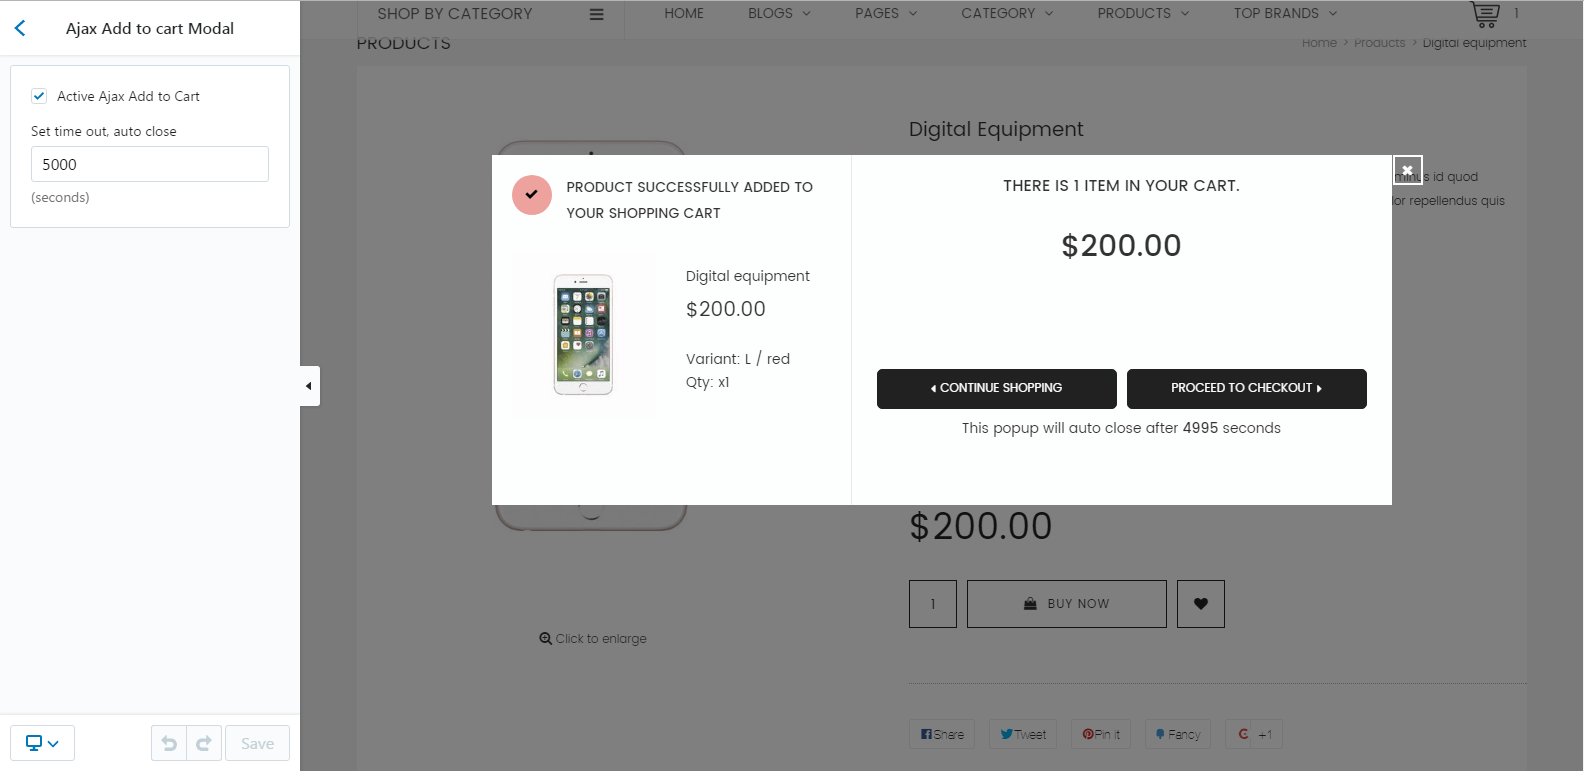
Ajax Add to cart Modal
Go to: Customize Theme > General Settings > Ajax Add to cart Modal
Review popup appear after click to Add to Cart button
-
Product Reviews
Product Reviews is an app created by Shopify that allows your customers to easily submit reviews for your products.
To use this application, please go to https://apps.shopify.com/product-reviews and follow the instructions
-
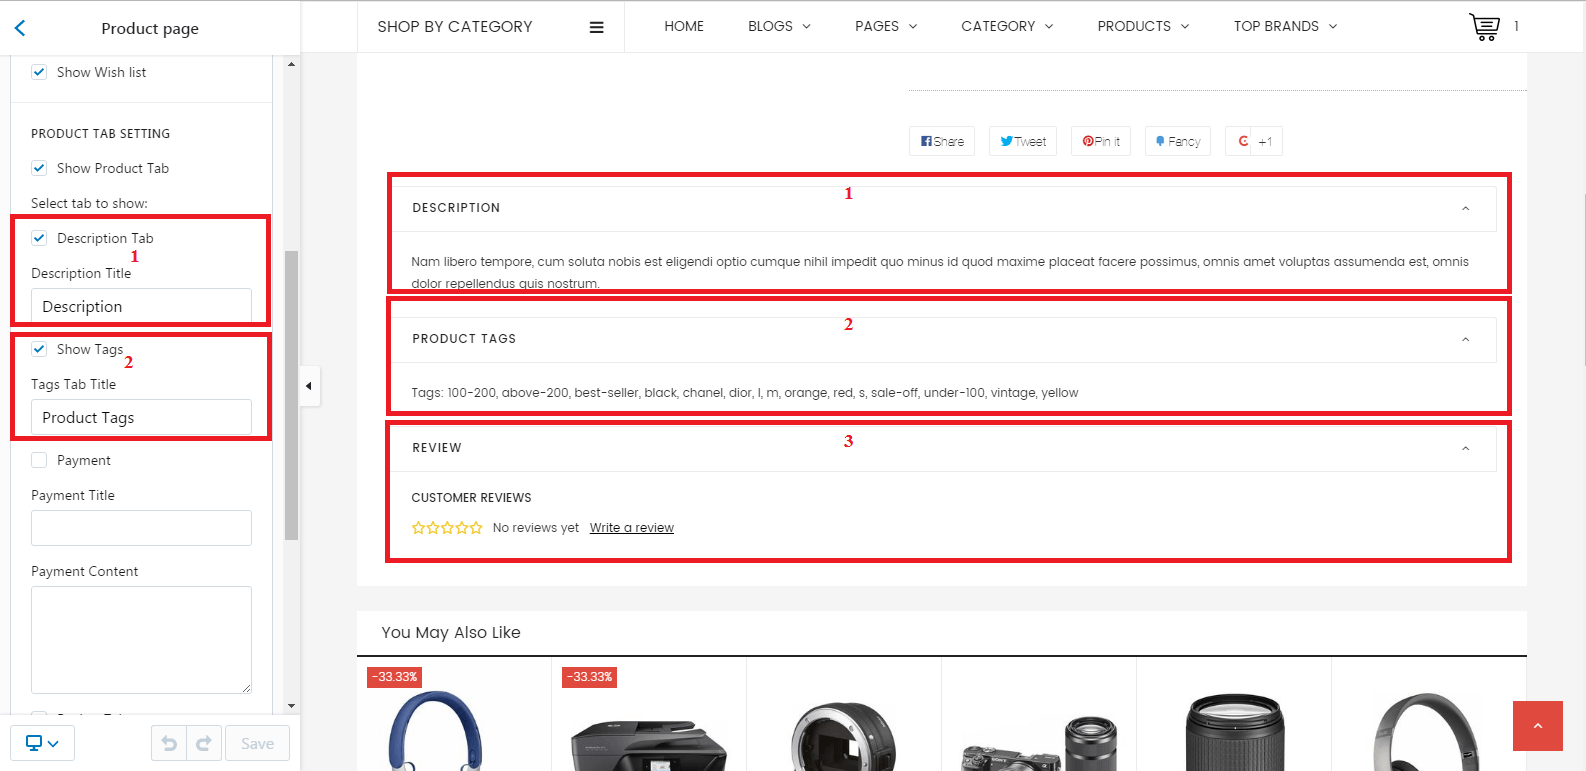
Product Tab Setting
-
Go to: Customize Theme > Sections > Product Page > Product Tab Setting
-
-
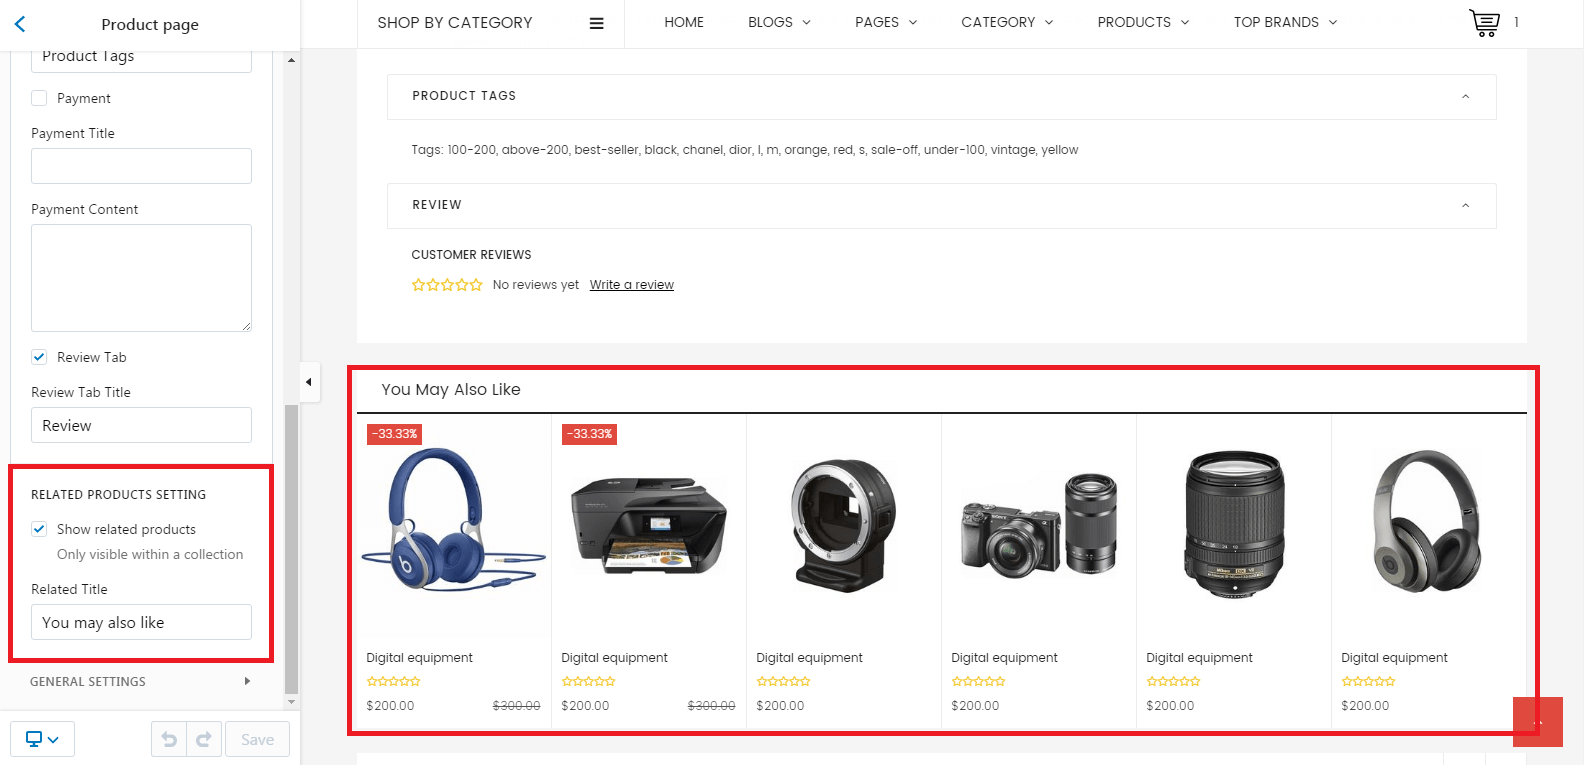
Related Product
-
Go to: Customize Theme > Sections > Product Page > Related Products Setting
-
Blog Page
-
Go to: Customize Theme > General settings > Sidebar

-
Edit and Save Change
Contact Page
-
Go to page Contact
-
Go to: Customize Theme > Sections > Contact Page
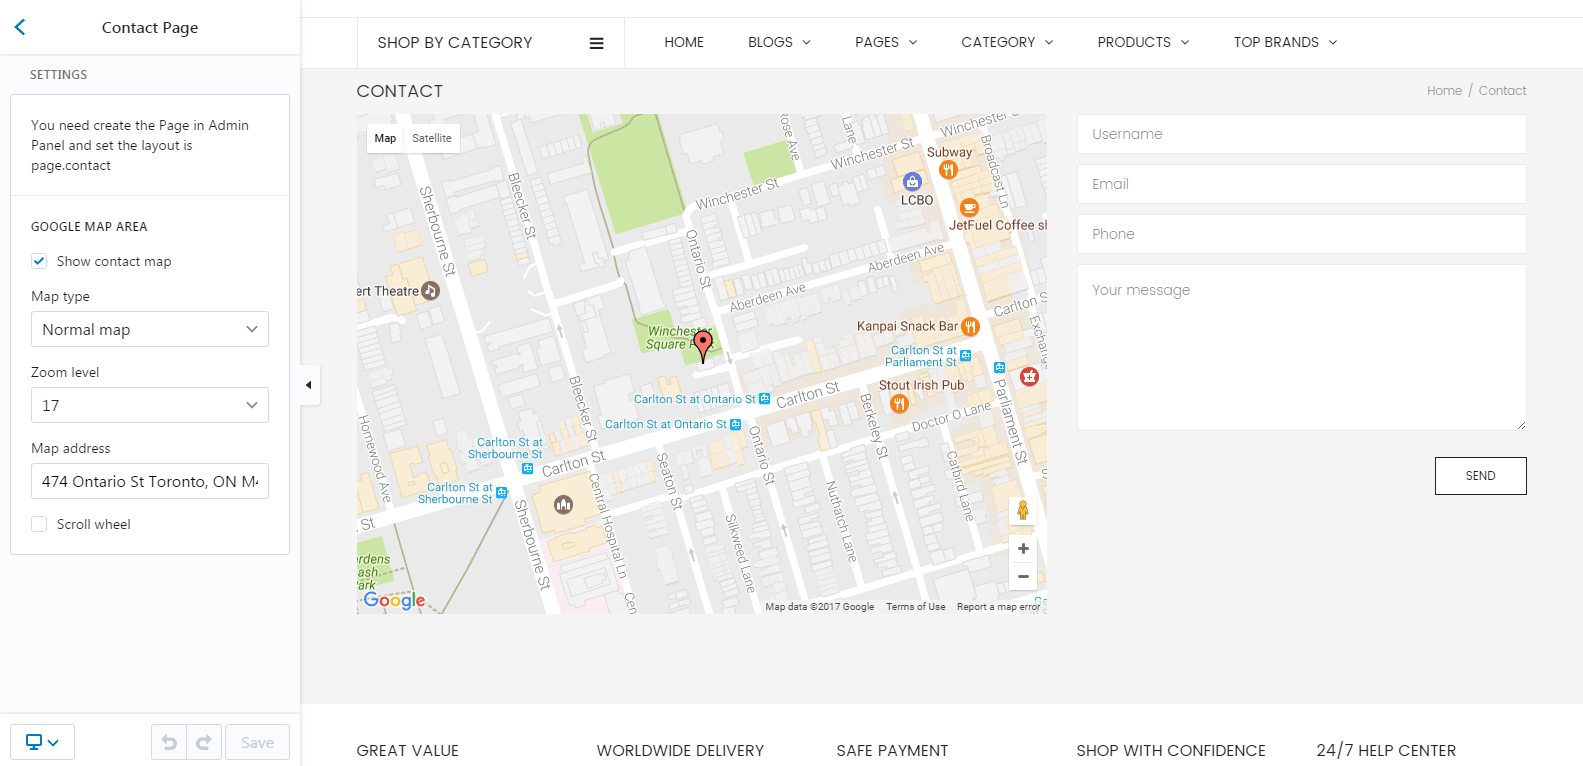
To show it in front-end, you need create the Page and set layout is page.contact
About Page
-
Go to page About
-
Go to: Customize Theme > Sections > About Page
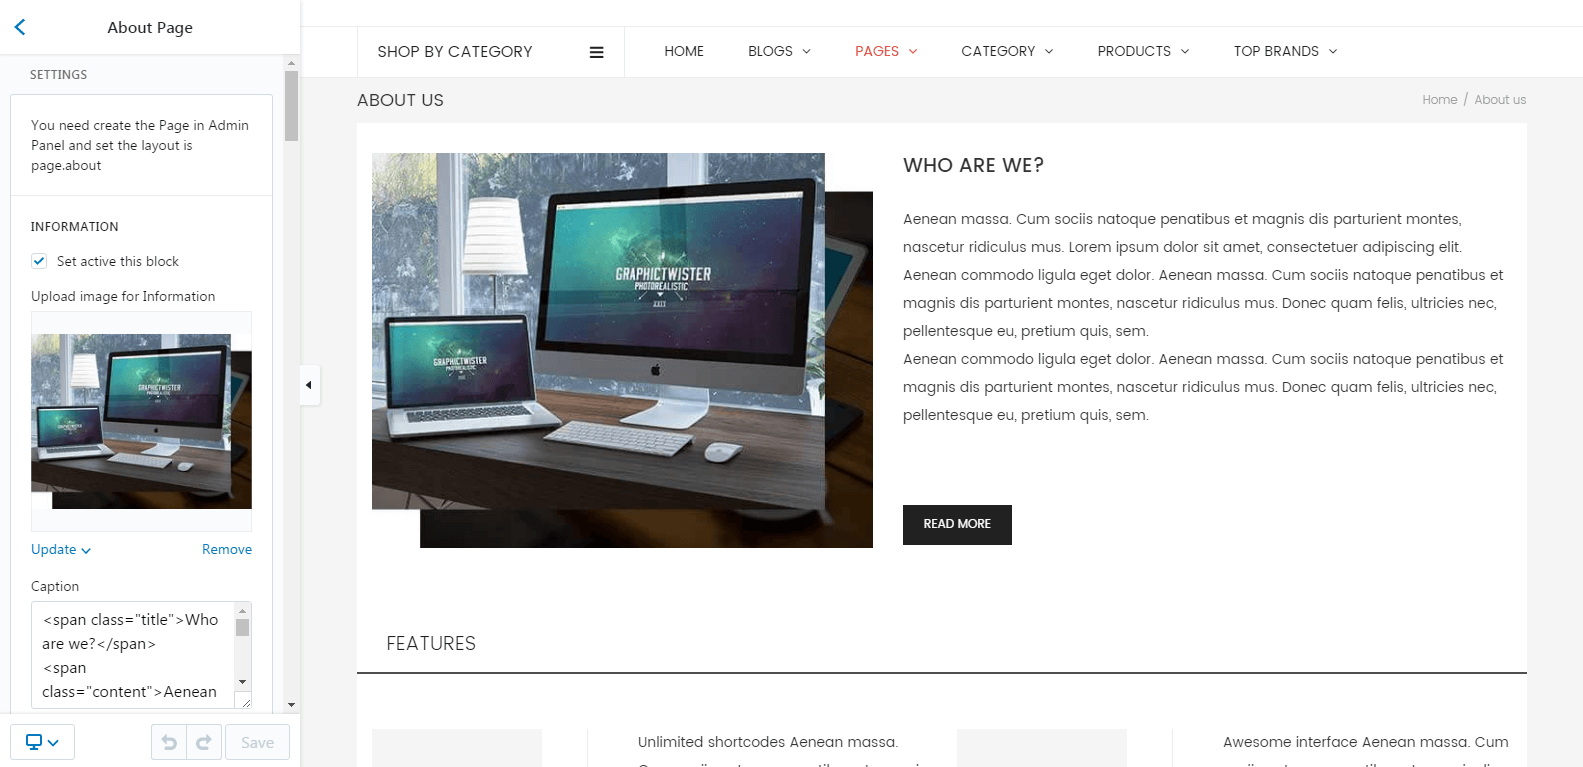
To show it in front-end, you need create the Page and set layout is page.about
Lookbook page
-
Go to page Lookbook
-
Go to: Customize Theme > Sections > Lookbook Page
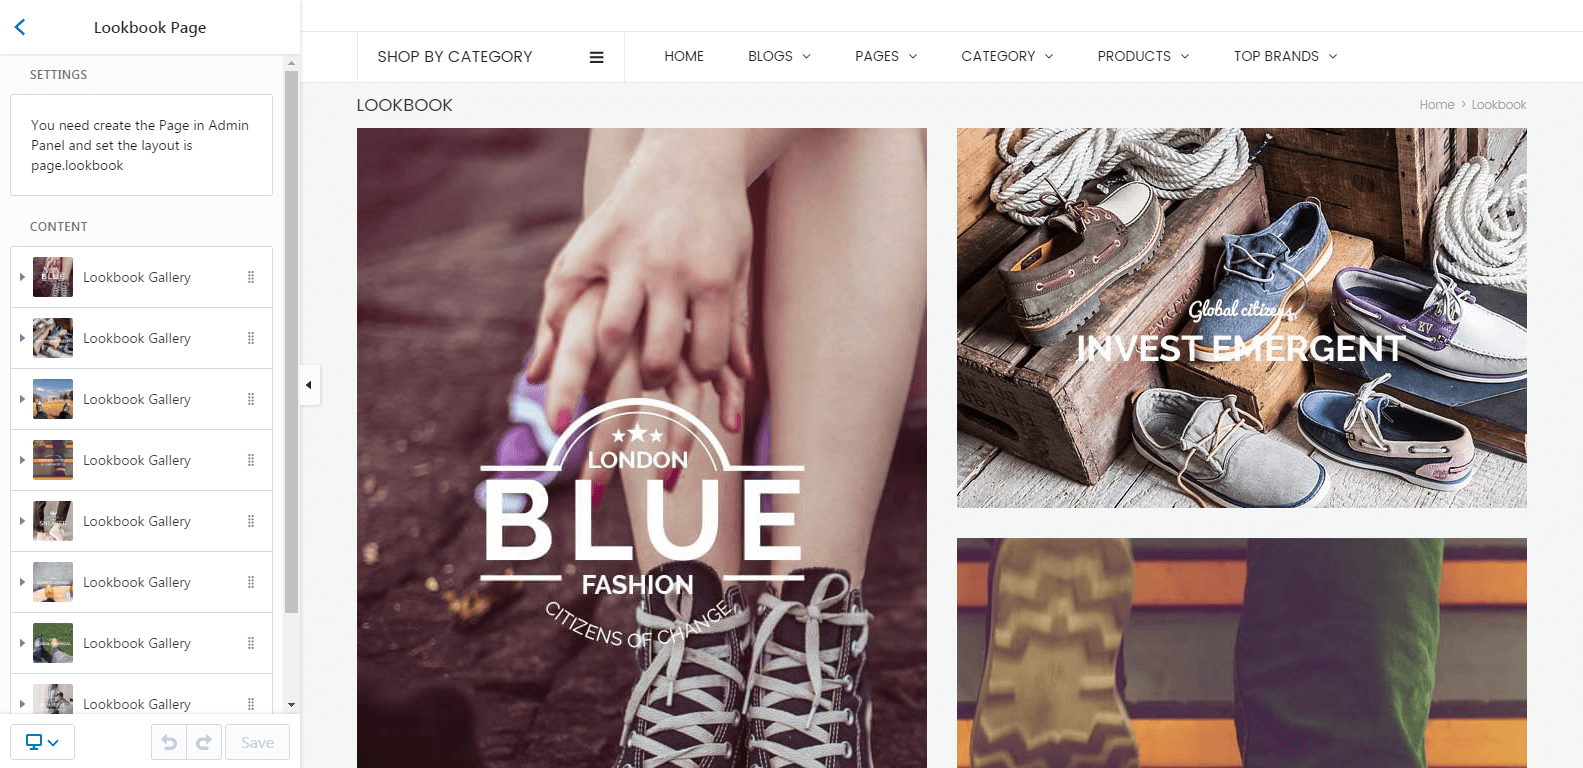
To show it in front-end, you need create the Page and set layout is page.lookbook
FAQs page
-
Go to page FAQs
-
Go to: Customize Theme > Sections > FAQs
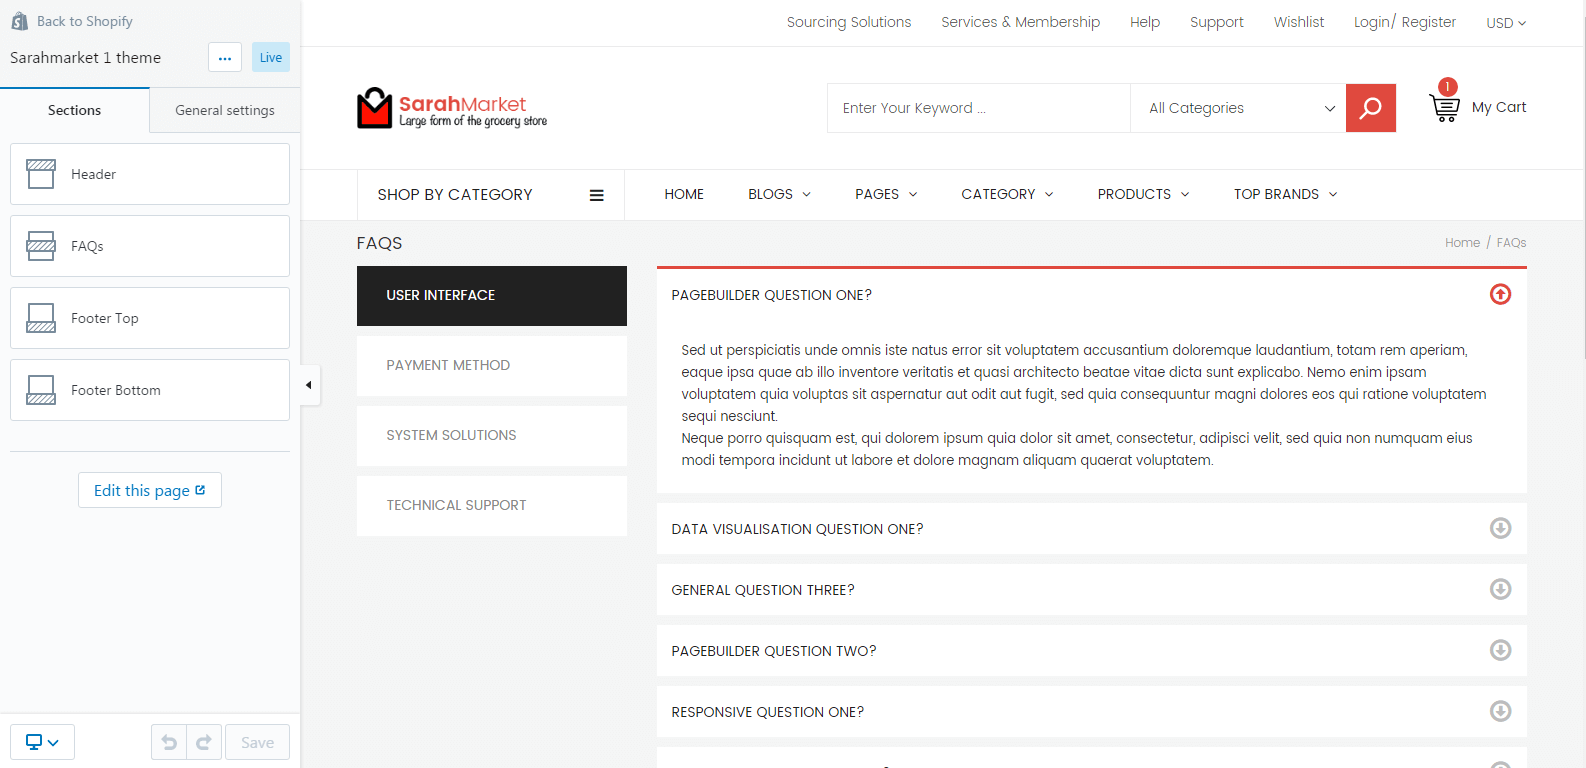
To show it in front-end, you need create the Page and set layout is page.faq
Special Deals Page
-
Go to page Super Deal
-
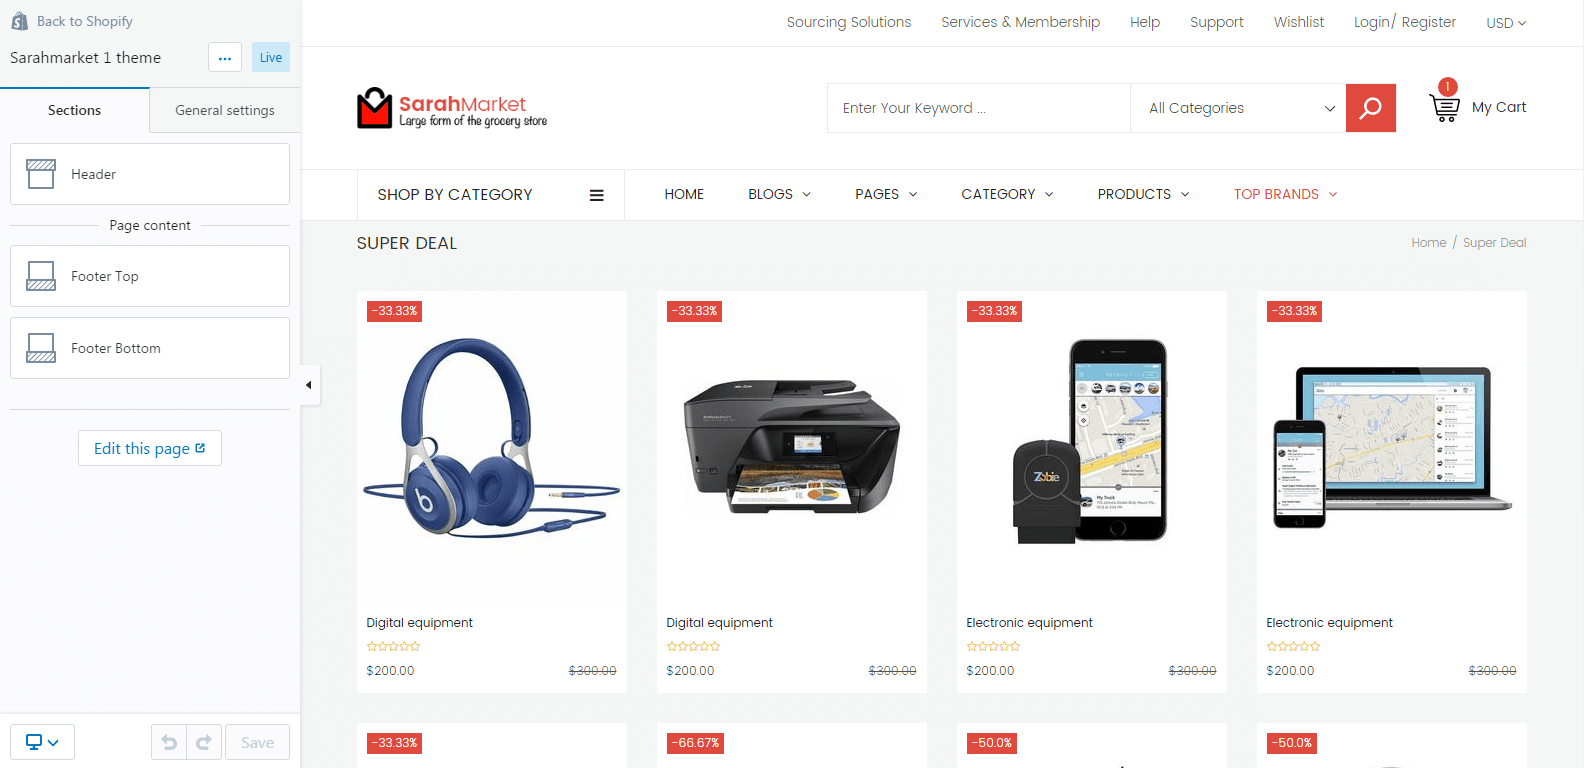
To show it in front-end, you need create the Page and set layout is page.deals
Service page
-
Go to page Service
-
Go to: Customize Theme > Sections > Services Page
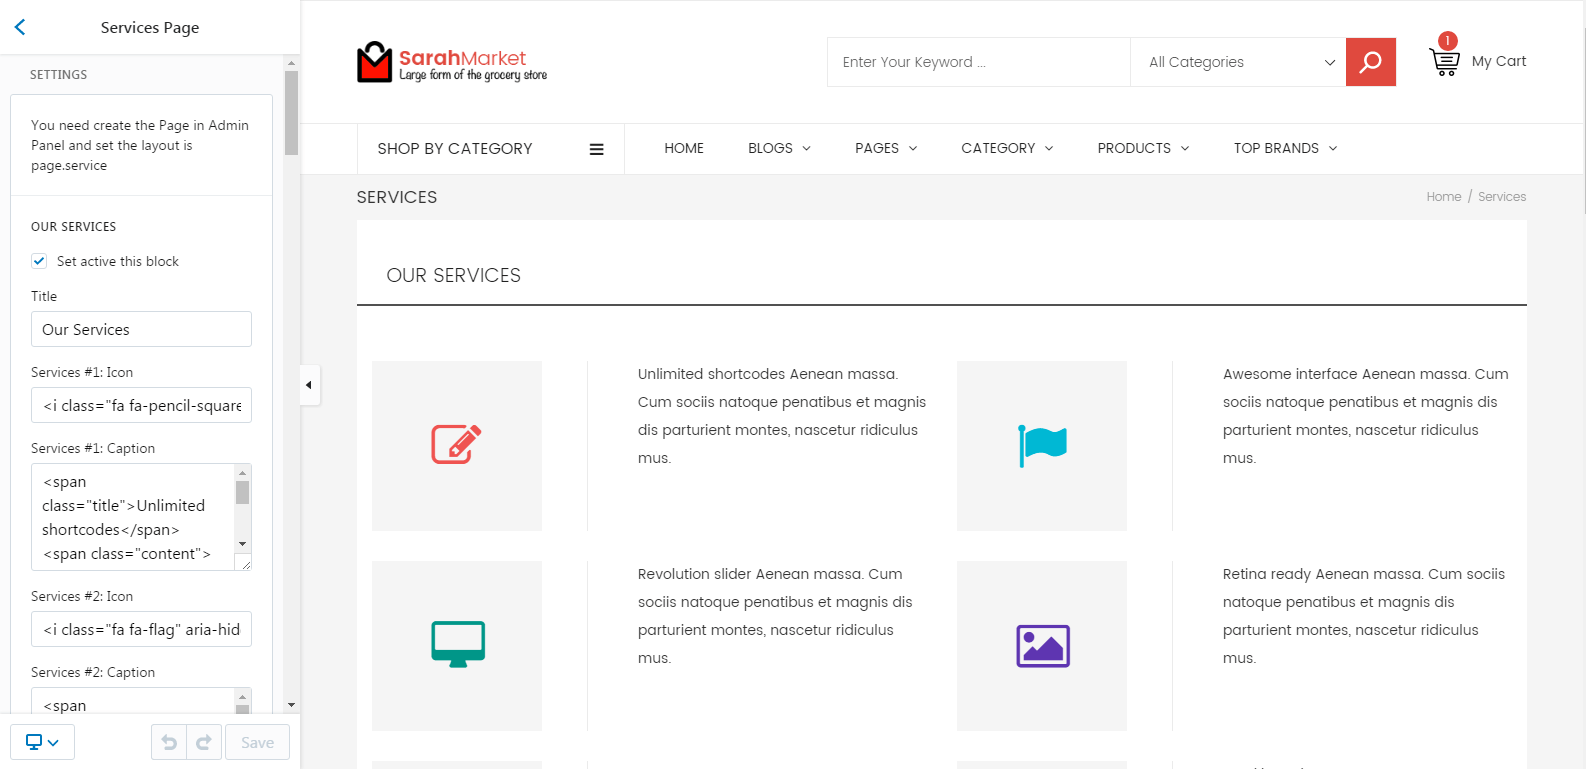
To show it in front-end, you need create the Page and set layout is page.services
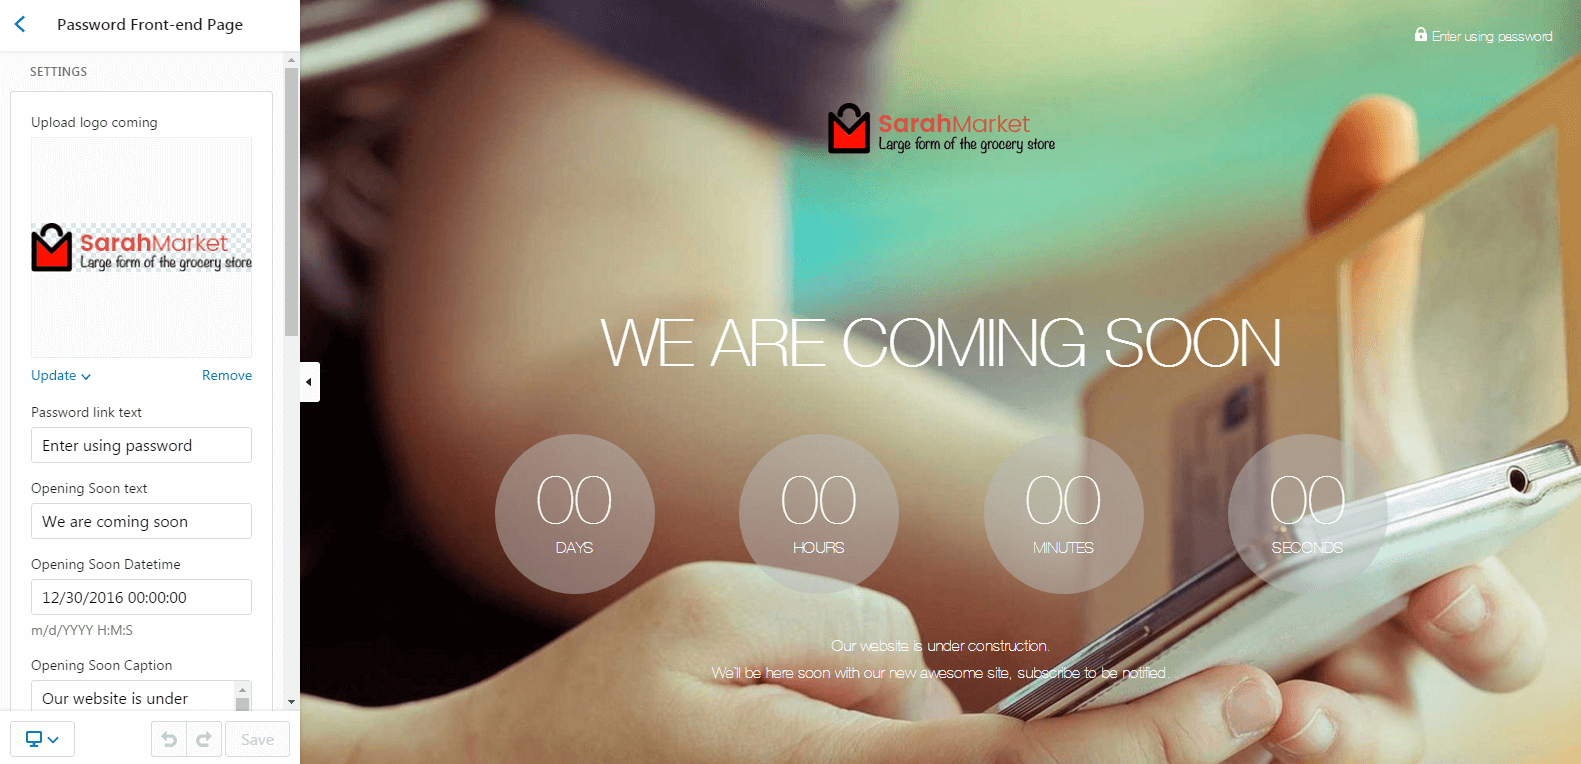
Password Front-end Page
-
Go to: Customize Theme > Sections > Password Front-end Page